vvc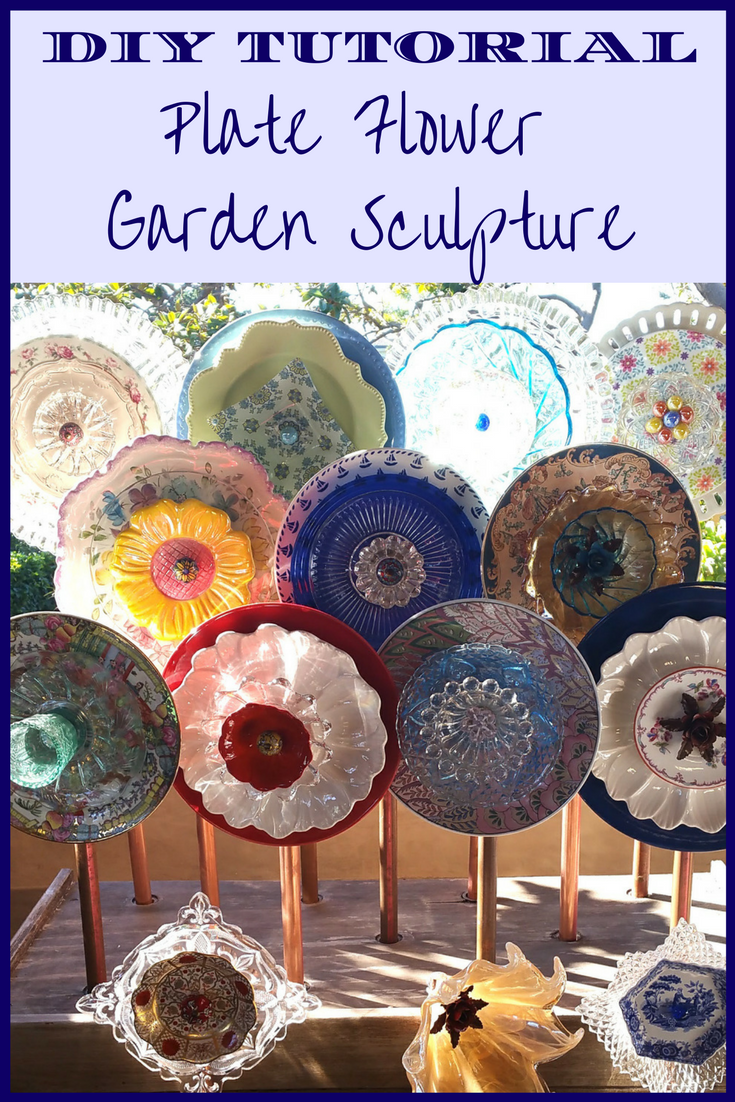
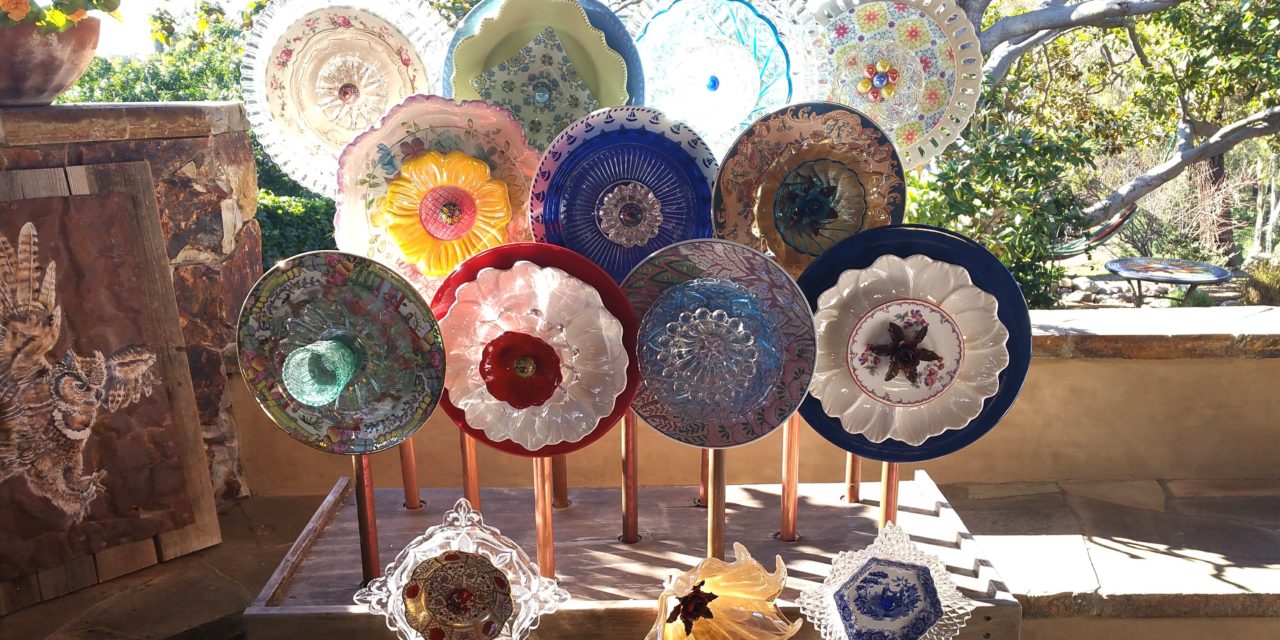
I recently attended a “Flower Plate Workshop and Tea Party Luncheon” that was wonderful in every way! Once a year my garden club enjoys doing a “Make It and Take It” project and we were so mesmerized by all the flower plate sculptures in the garden of Francesca Filanc, one of our members, and we finally got to take a class on making our own plate flower garden sculptures.
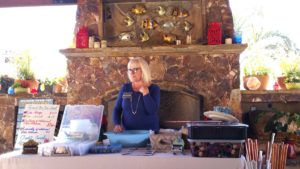
The workshop was given by Susan Baillie of “Good for the Soul” at the charming home and garden of LeAnne Mellon in Oceanside, California. Below are the steps and some photos for making these flower plate sculptures, along with some photos of the glorious Tea. I highly recommend first taking a class before attempting these on your own. Susan will hold your hand as you learn to drill through ceramics, porcelain and glass. She may be contacted at 760-803-9228 and her e-mail is susanbaillie@cox.net. (I receive no compensation for this referral to Susan; this post includes affiliate ads for some products she used during the workshop.)
The flower plates may be displayed in several ways. LeAnne used one as a bird bath and one as a wall hanging in her home. Susan also suggested several could be made and hung together as a mobile!

Flower Plate Sculpture – Bird Bath
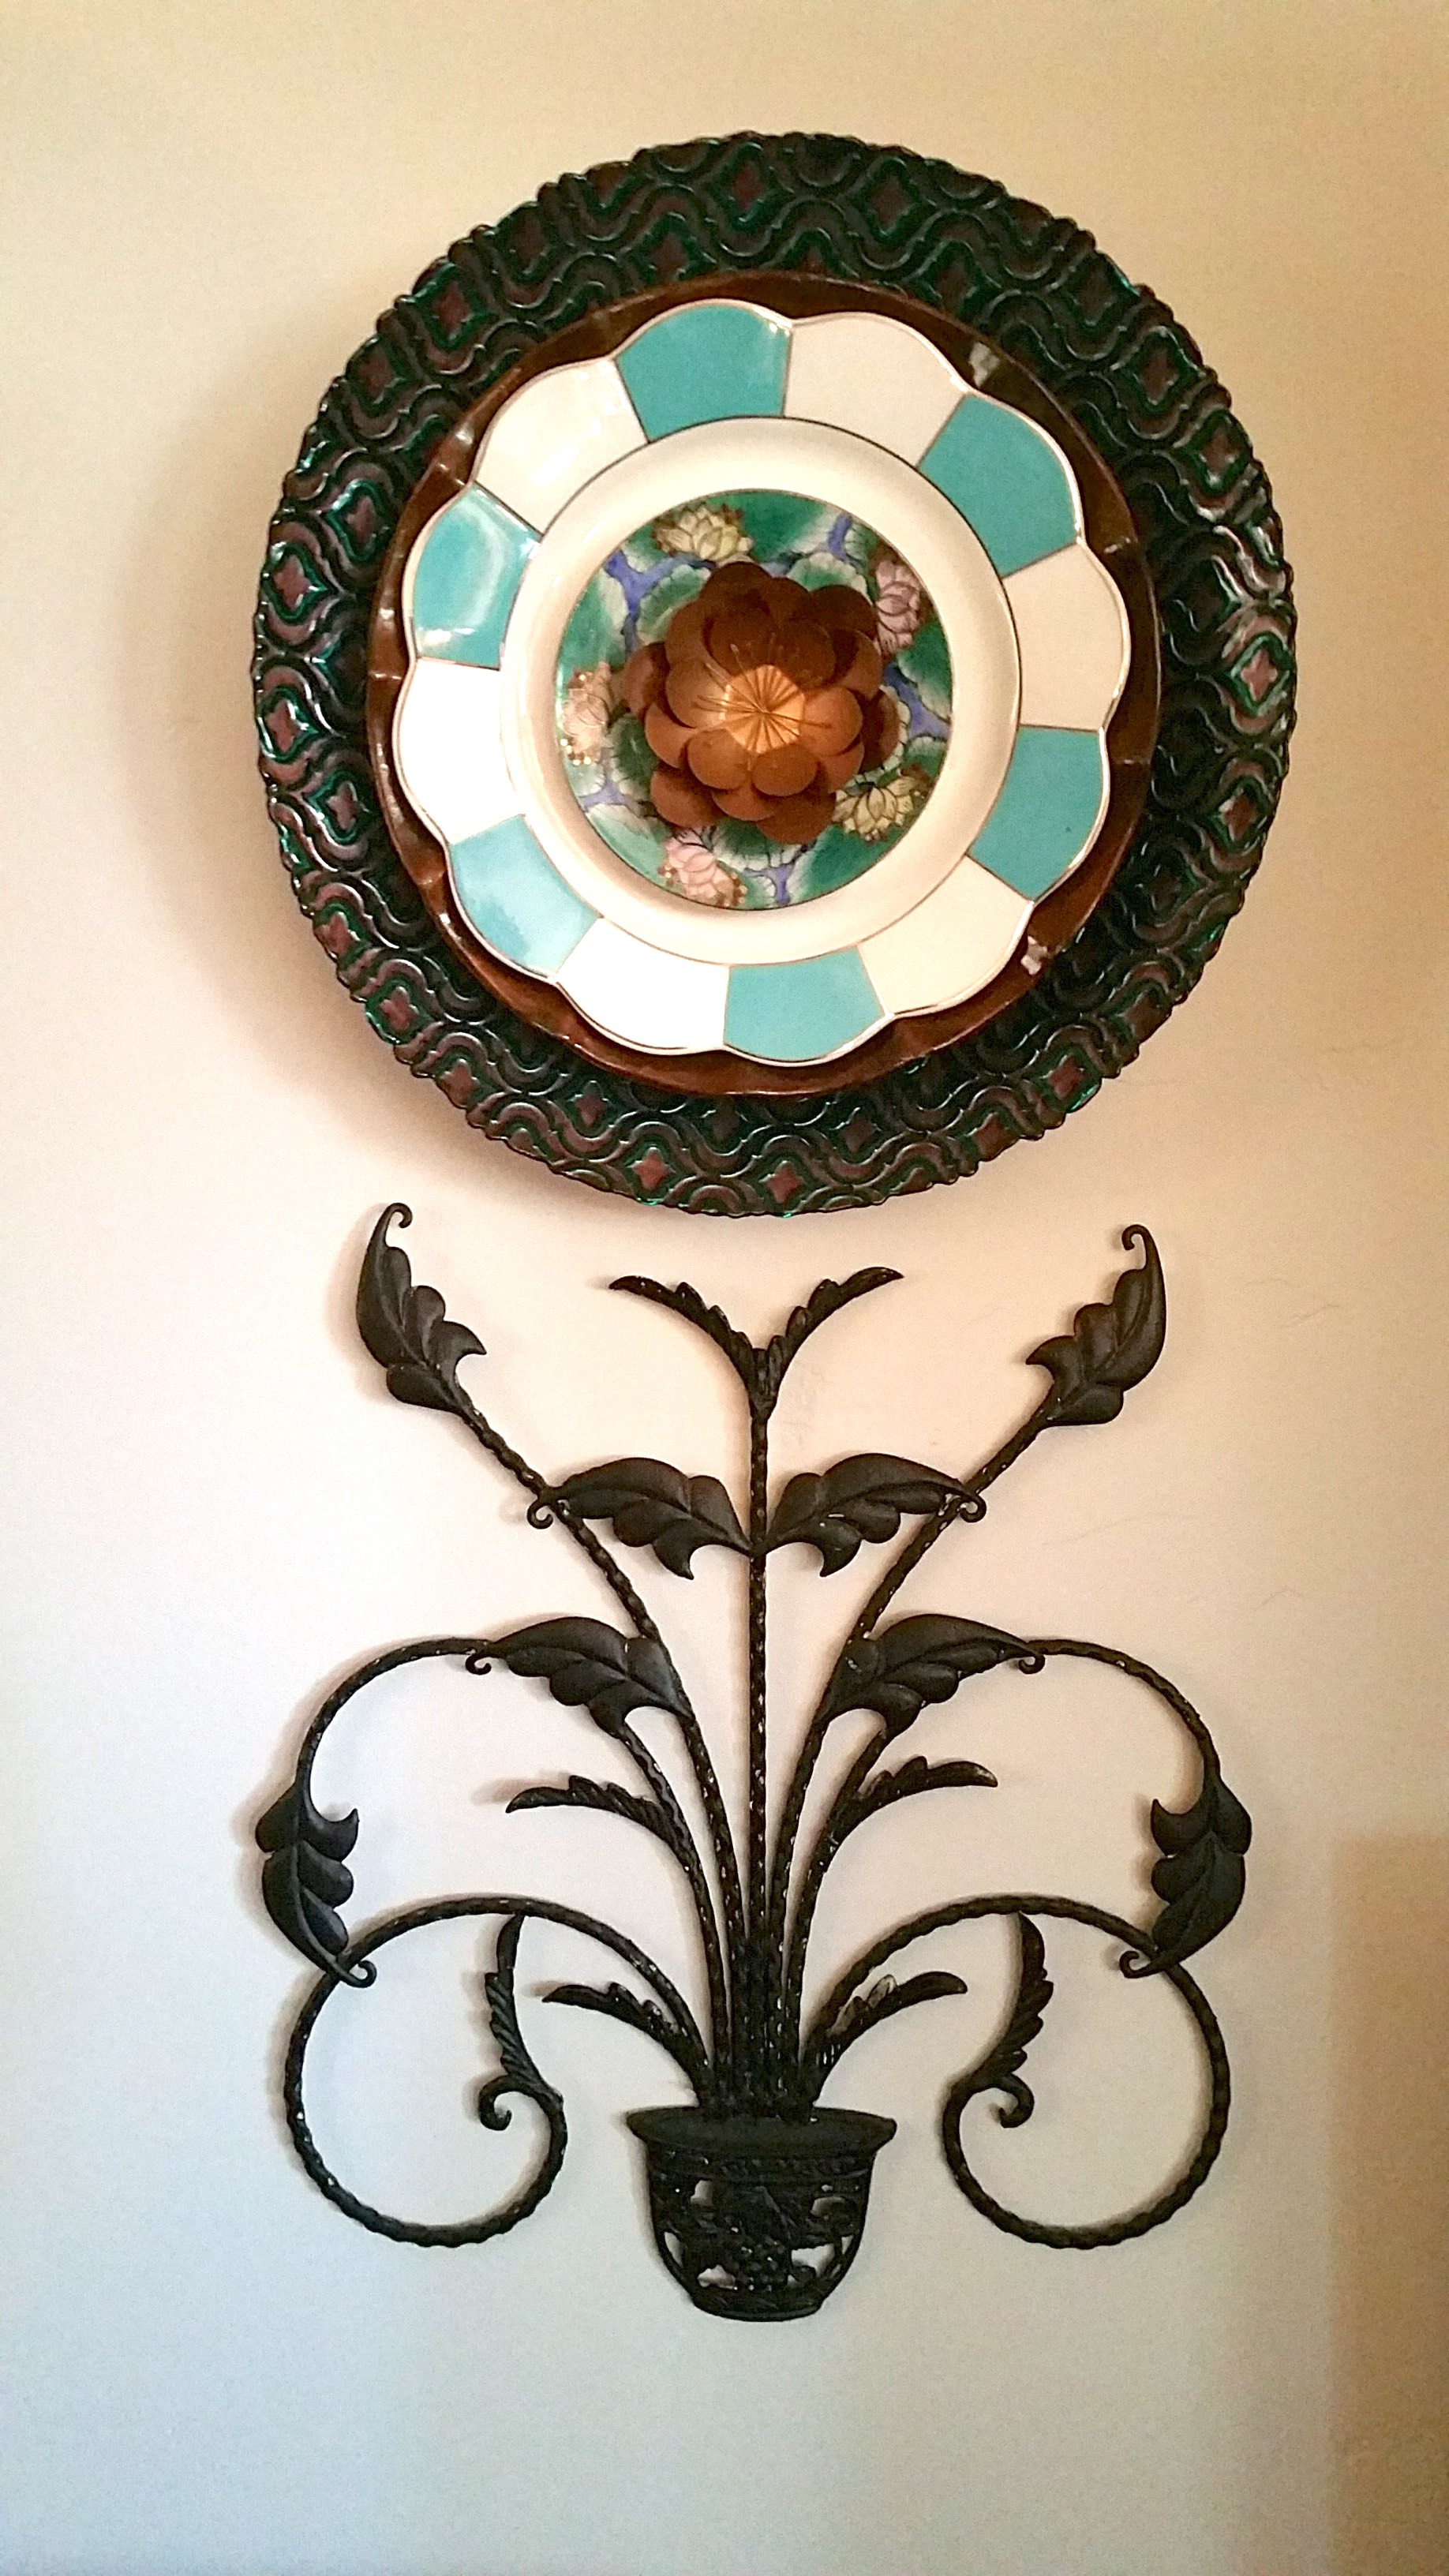
Flower Plate Sculpture – Wall Hanging
Supplies for Flower Plate:
3-4 ceramic or glass plates or bowls of varying sizes
1 item for center to hide bolt (flat marble, candle votive, etc.)
1 flathead hex bolt 1/4″ x 2 1/2″ – 4″ (length depends on thickness of plates used)
1 wing nut (1/4″)
3 or 4 hose washers
Black Sharpie or thick permanent pen
E6000 glue
Tools/Supplies for Making Flower Plate:
1 diamond drill bit (5/16″) with hollow center
1 large basin
1 old towel
1 pitcher of water
1 pair of safety goggles
Supplies for Post:
1 copper sleeve piping (3/4″) cut to 30″ or preferred height with 5/16″ hole drilled near top of post
1 copper cap 3/4″
1 piece rebar cut 2′ long
Instructions for Drilling Plates:
- Place folded towel in water basin and moisten with water.
- Put plate on top of towel and mark center of plate with a permanent pen; fill plate with water. NOTE: It is imperative to surround plate with water as it will keep the plate cool, helping to prevent it from breaking while drilling. It will also keep the drill bit from overheating that will dull and ruin the bit.
- Put on safety goggles. Drill hole in center of plate by tilting the drill first and drilling full speed at a 45-degree angle to nick the plate, then hold the drill upright to continue drilling full speed until hole punctures through the plate. Be sure there is plenty of water on the plate at all times, adding more water as needed. NEVER LET THE DRILL TOUCH THE WATER–ONLY THE DRILL BIT! Continue drilling all plates in a similar manner.
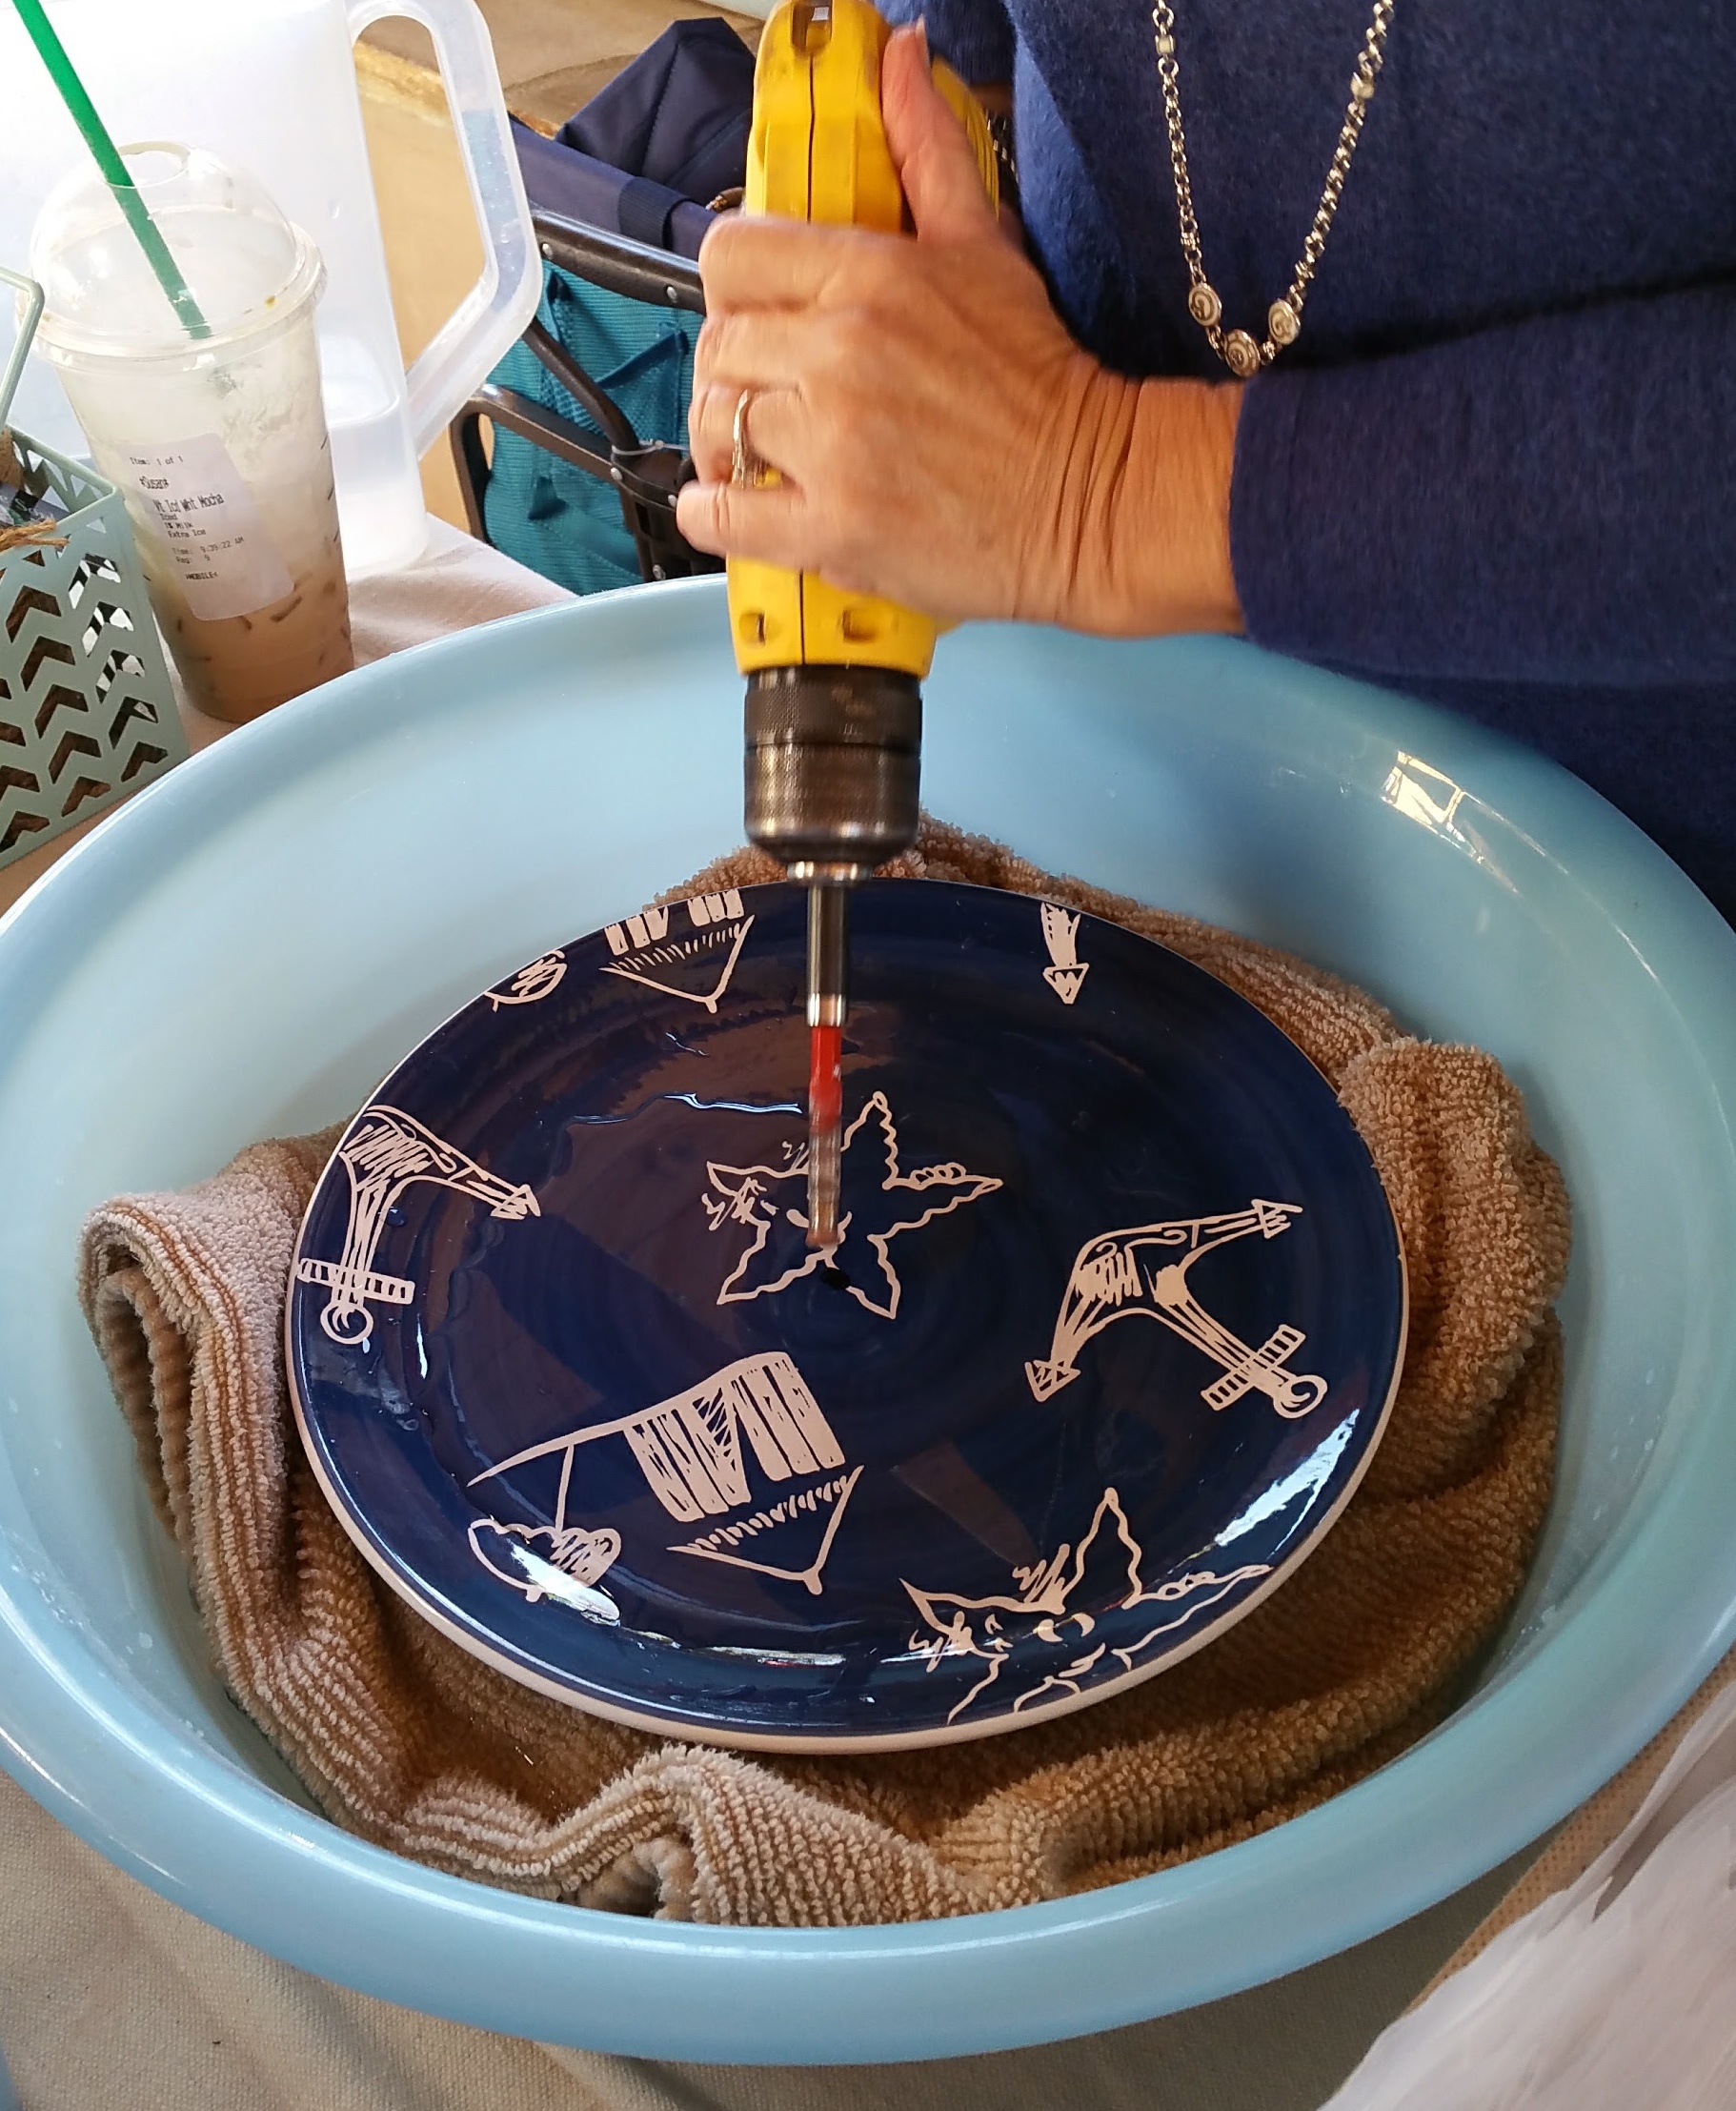
Flower Plate DIY Tutorial – Drilling Center Hole in Plate
Instructions for Assembling Plates into a Flower:
- Insert the rubber washers between each plate and the copper post to provide a soft cushion.
- Insert the hex bolt through the center hole of the top plate and washers all the way to the bottom (largest) plate and lastly the copper post, securing with the wing nut. DO NOT OVER TIGHTEN AS IT WILL CAUSE THE PLATES TO CRACK!
- If using a center piece (marble, door pull, etc.) glue item on top of bolt with E-6000 glue and let dry completely before moving plate flower.
Instructions for Installing Plate Flower as a Garden Sculpture:
- Hammer rebar half way into ground–ensure rebar is straight and clear of sprinkler lines.
- Slide copper post on top of rebar.
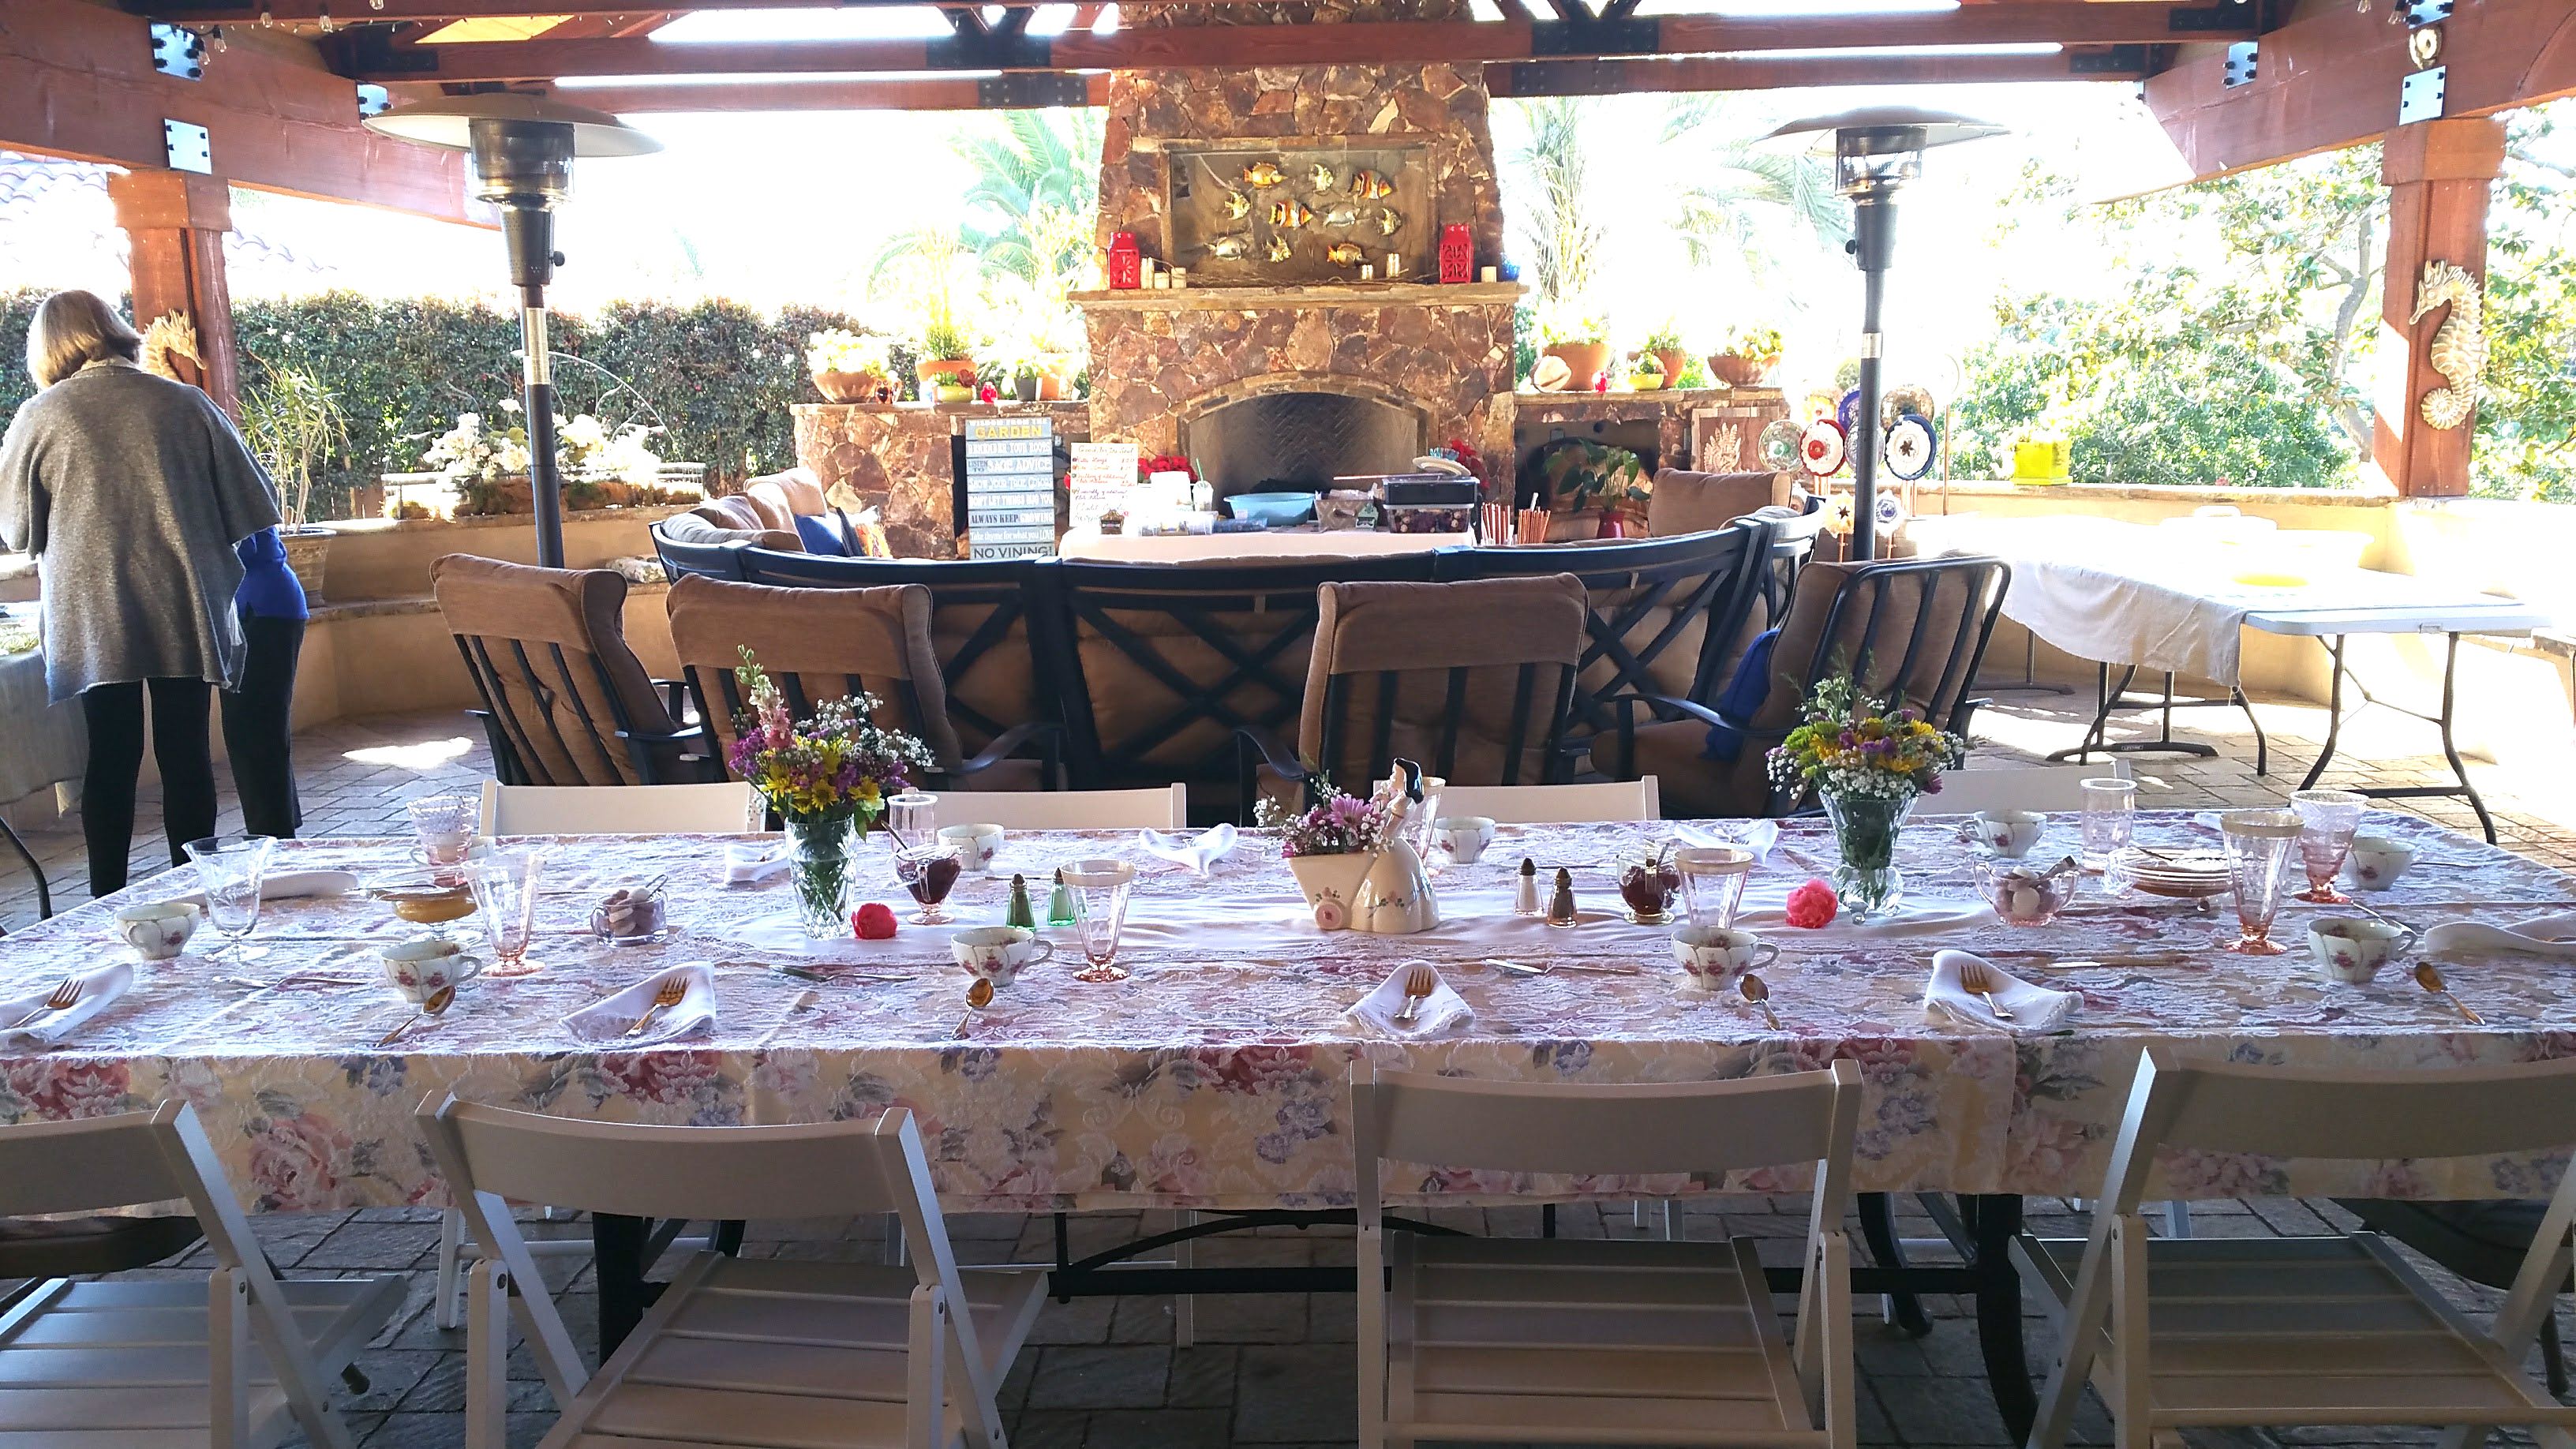
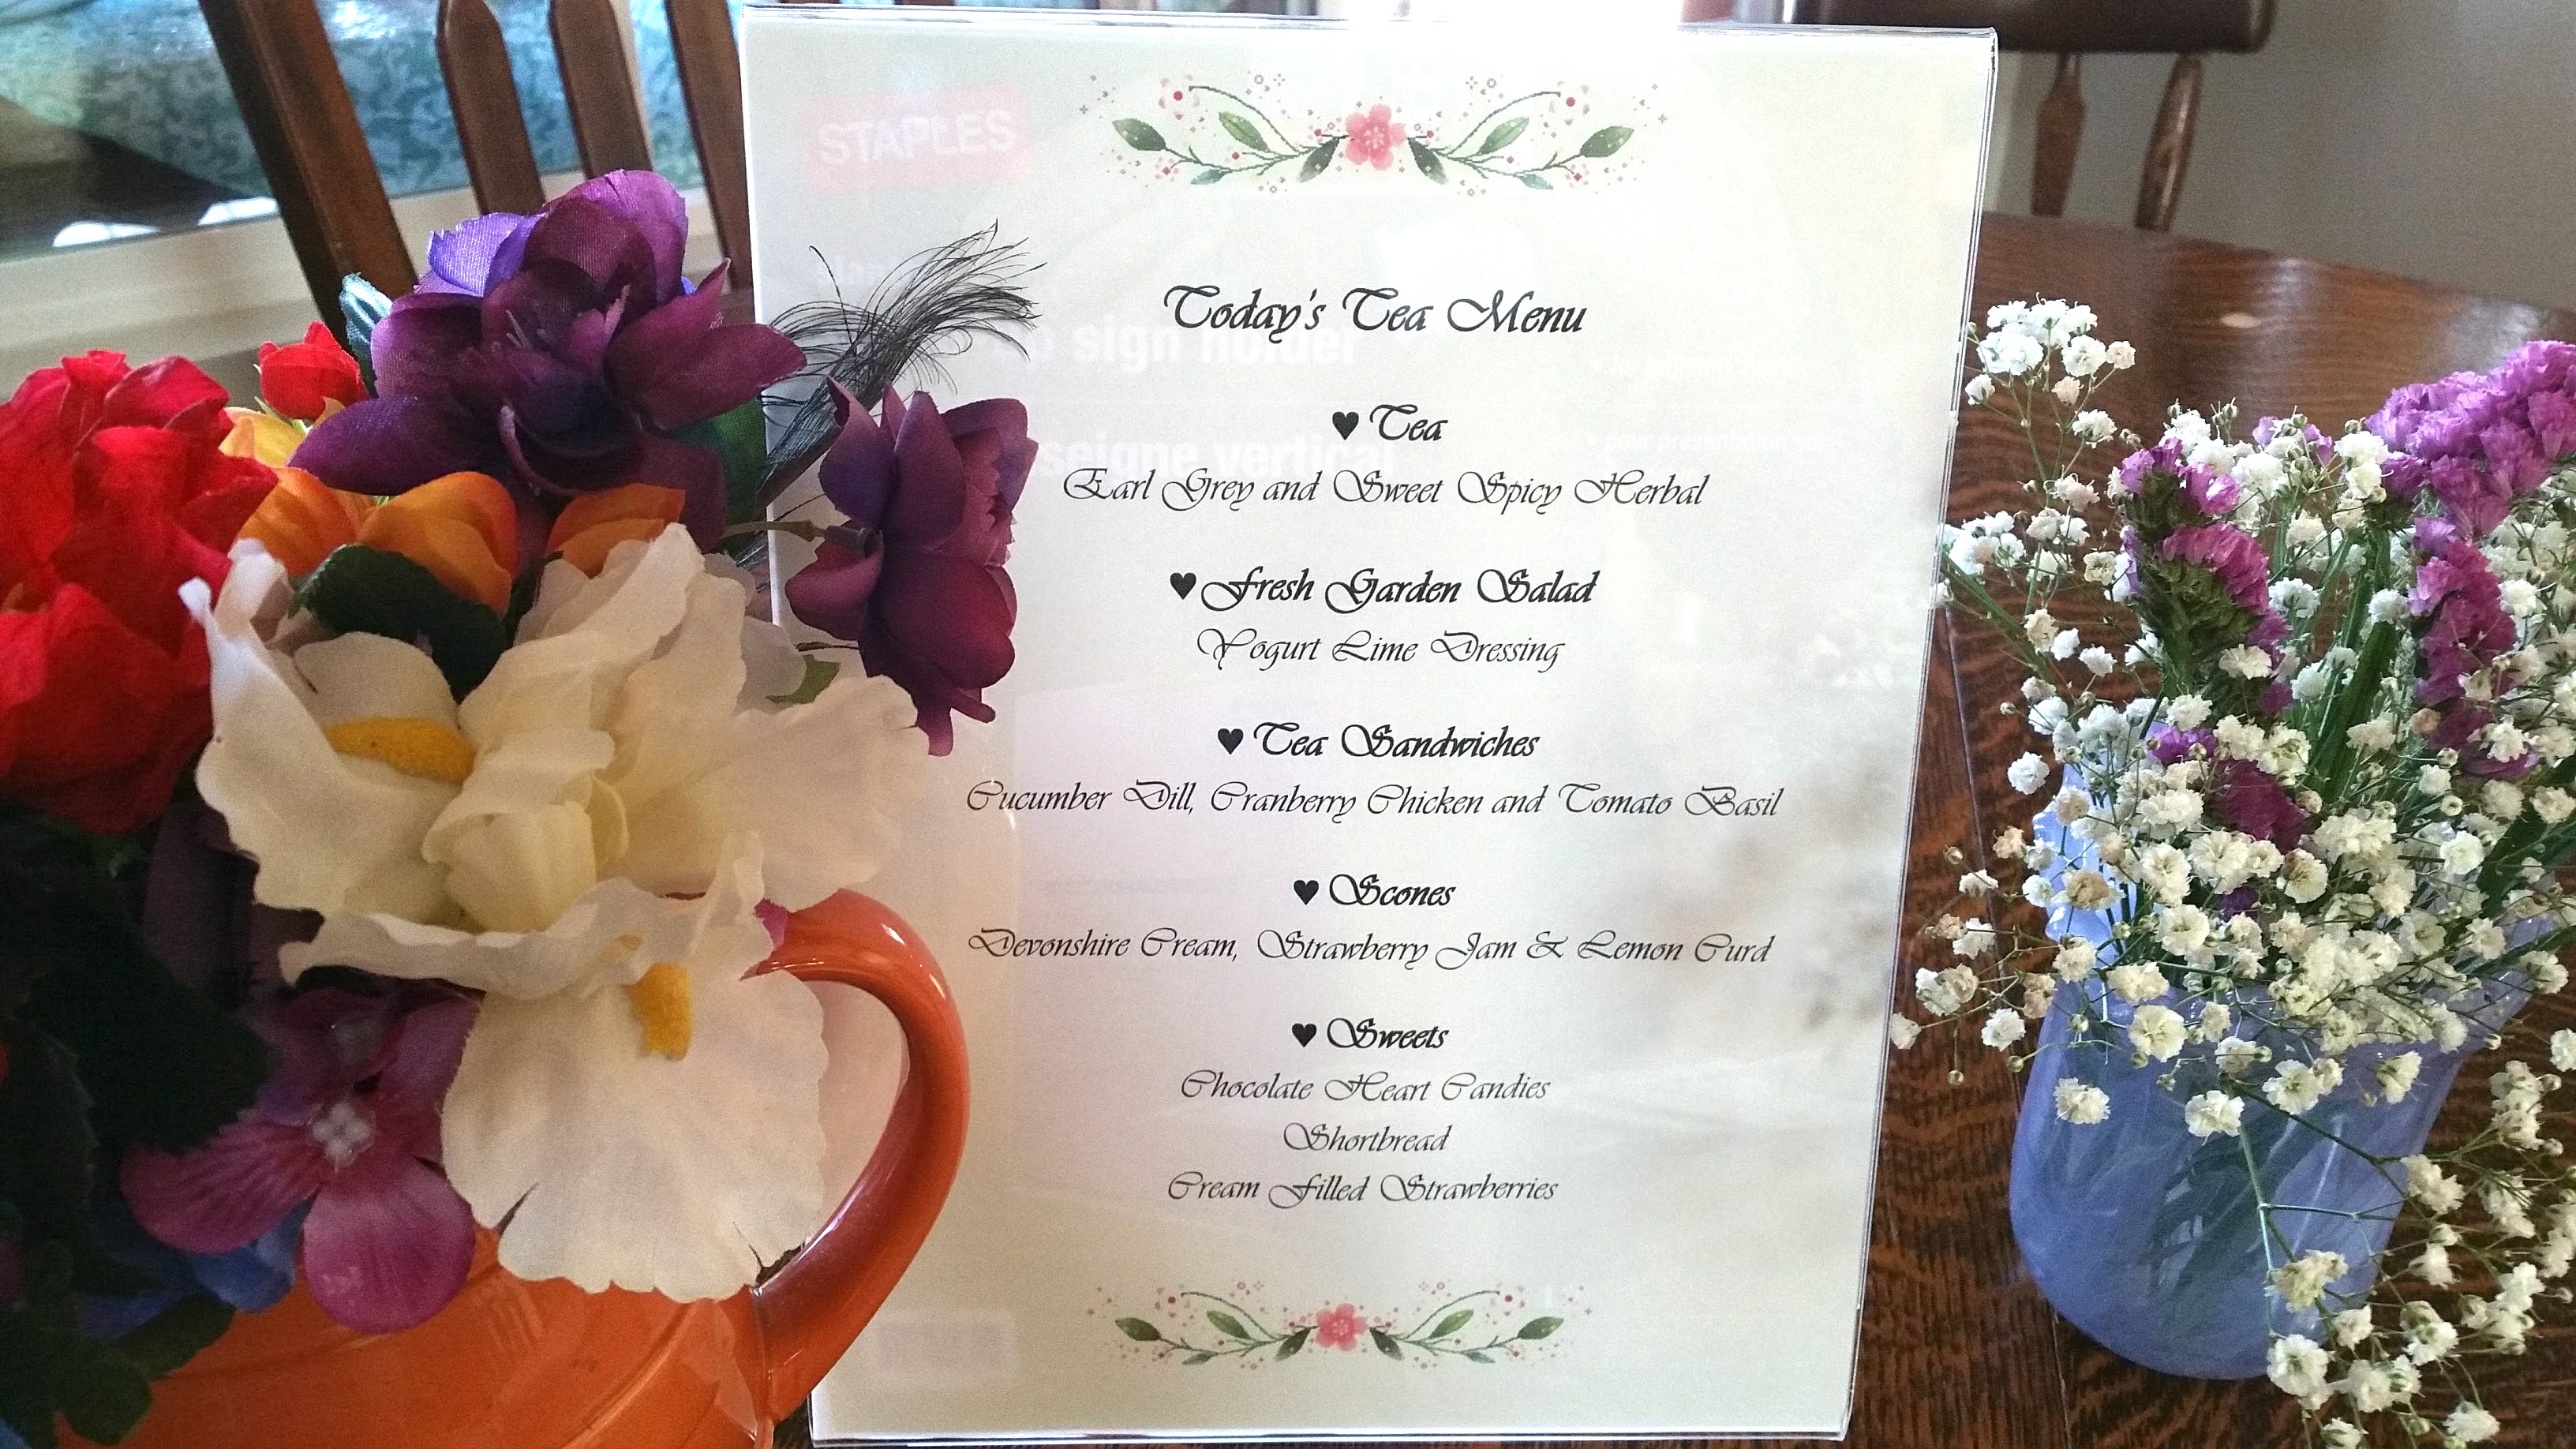
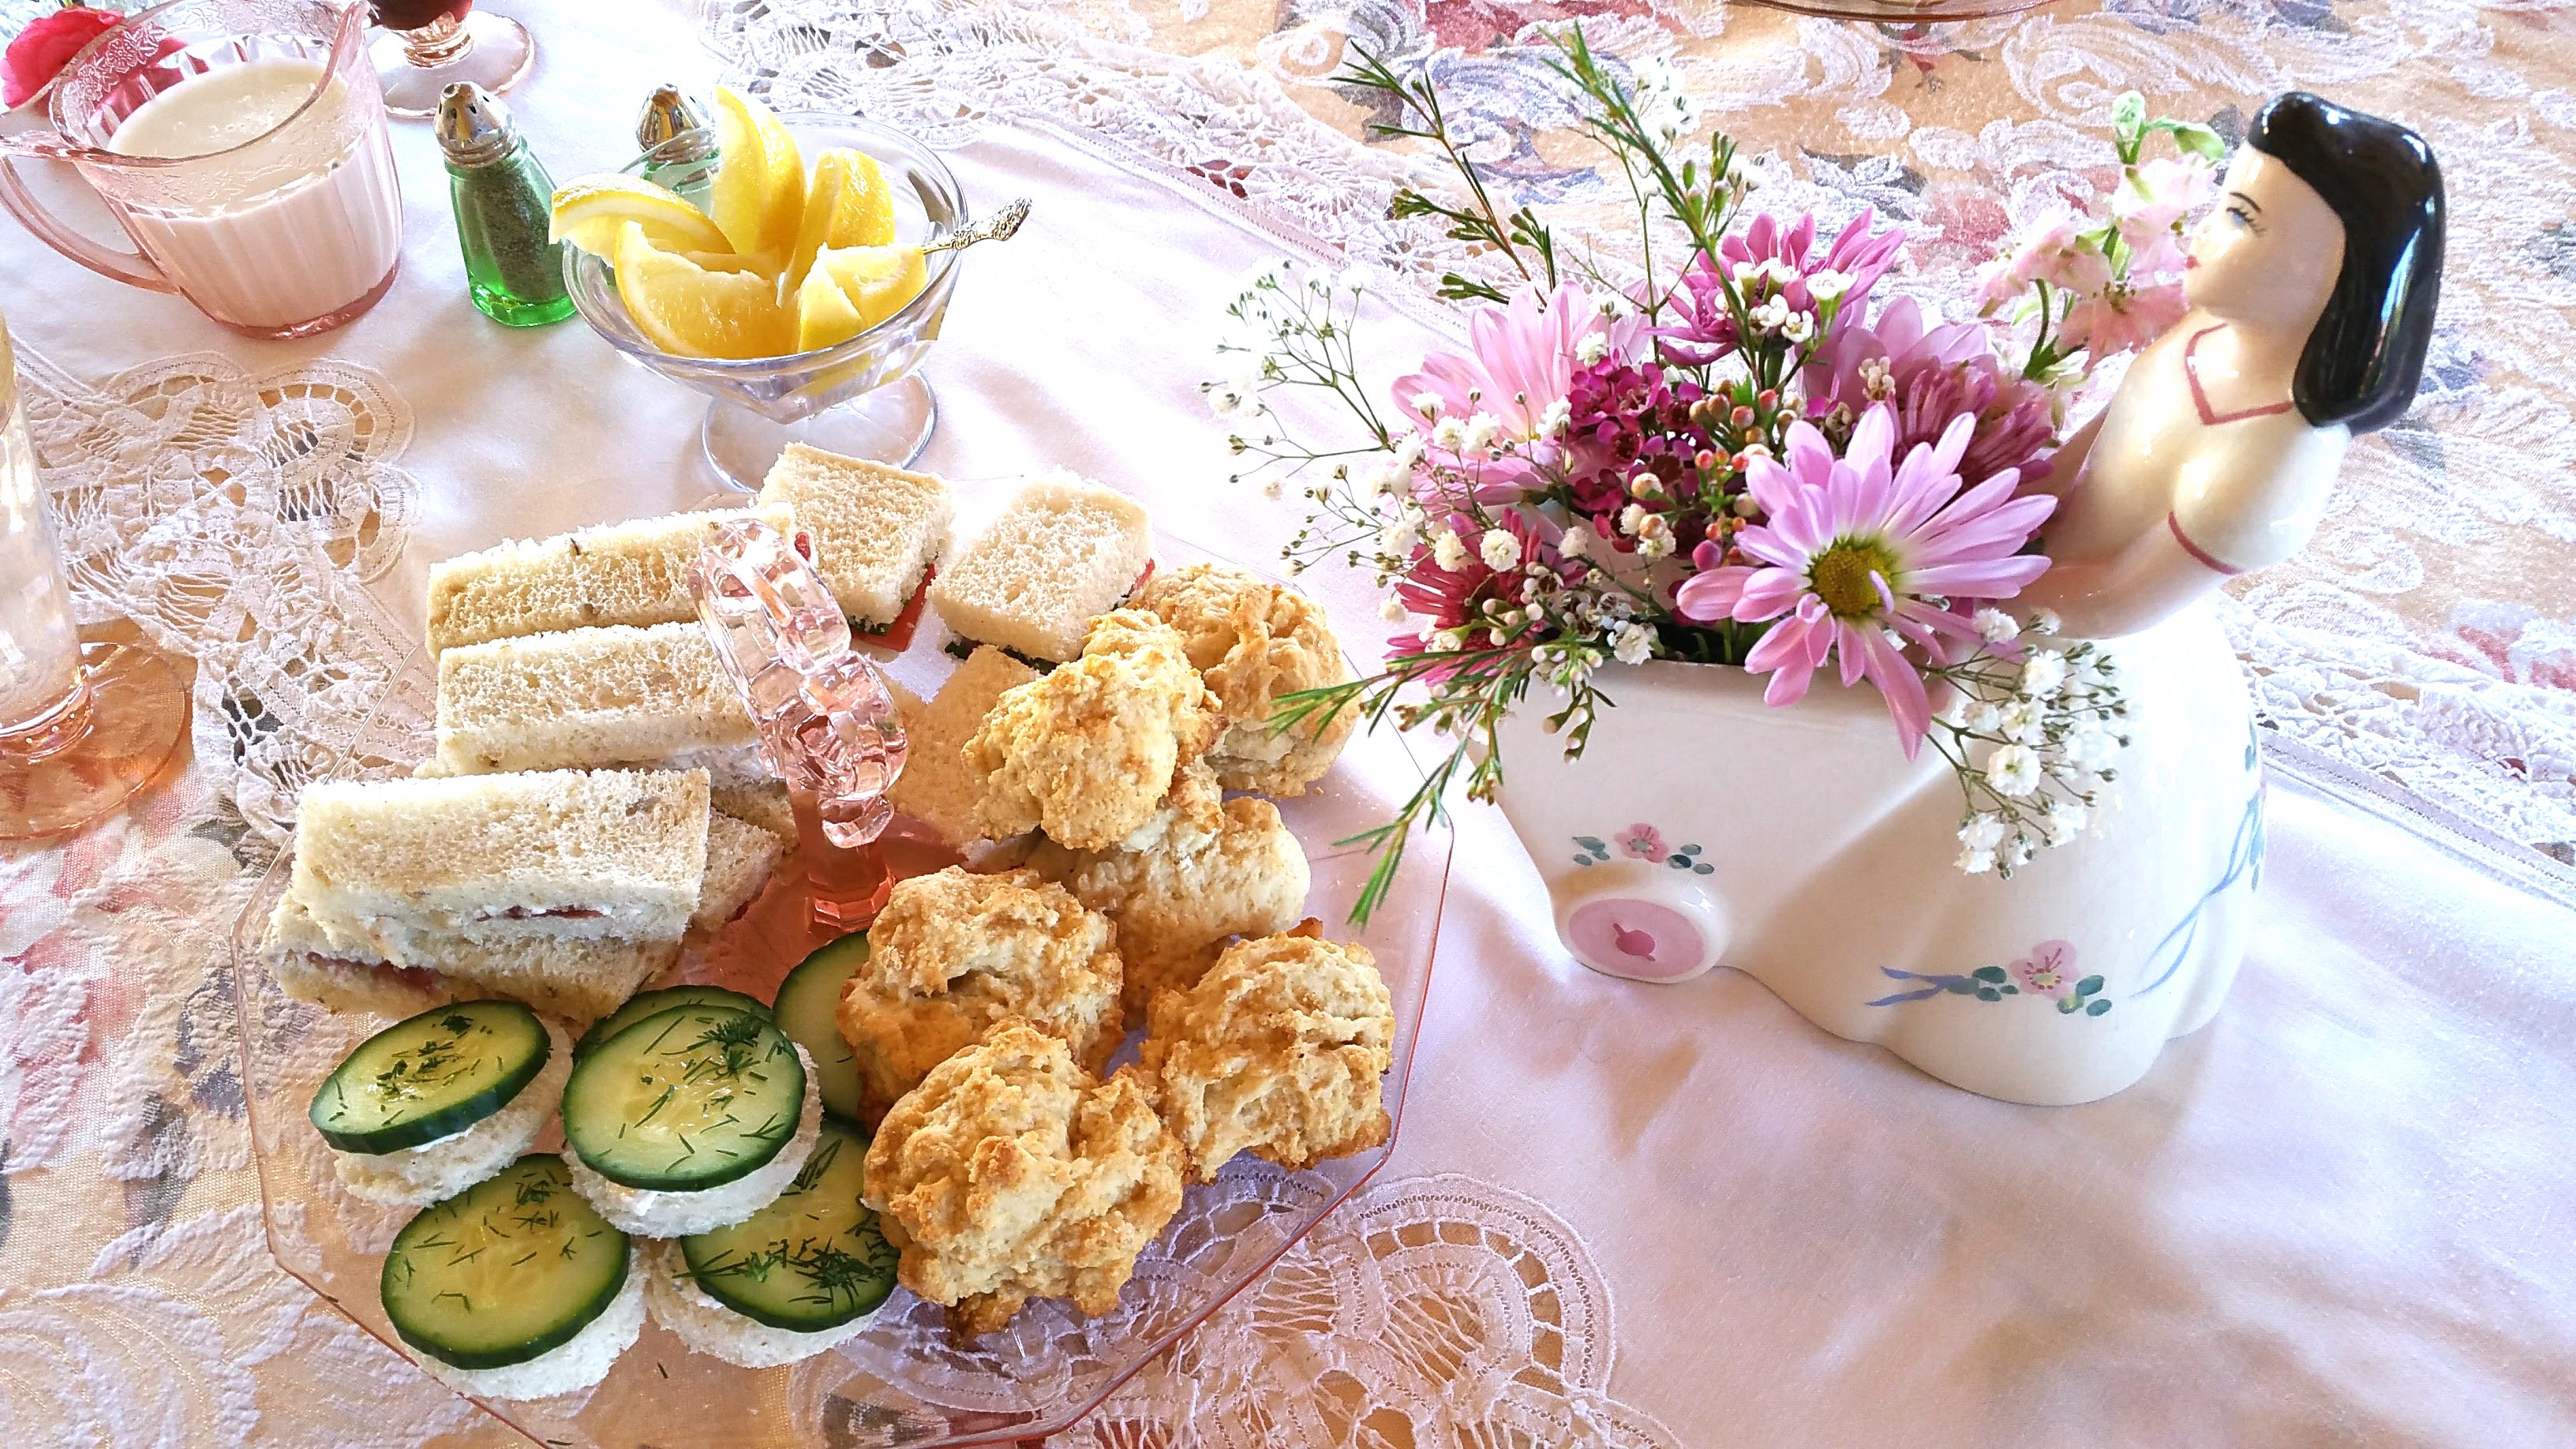
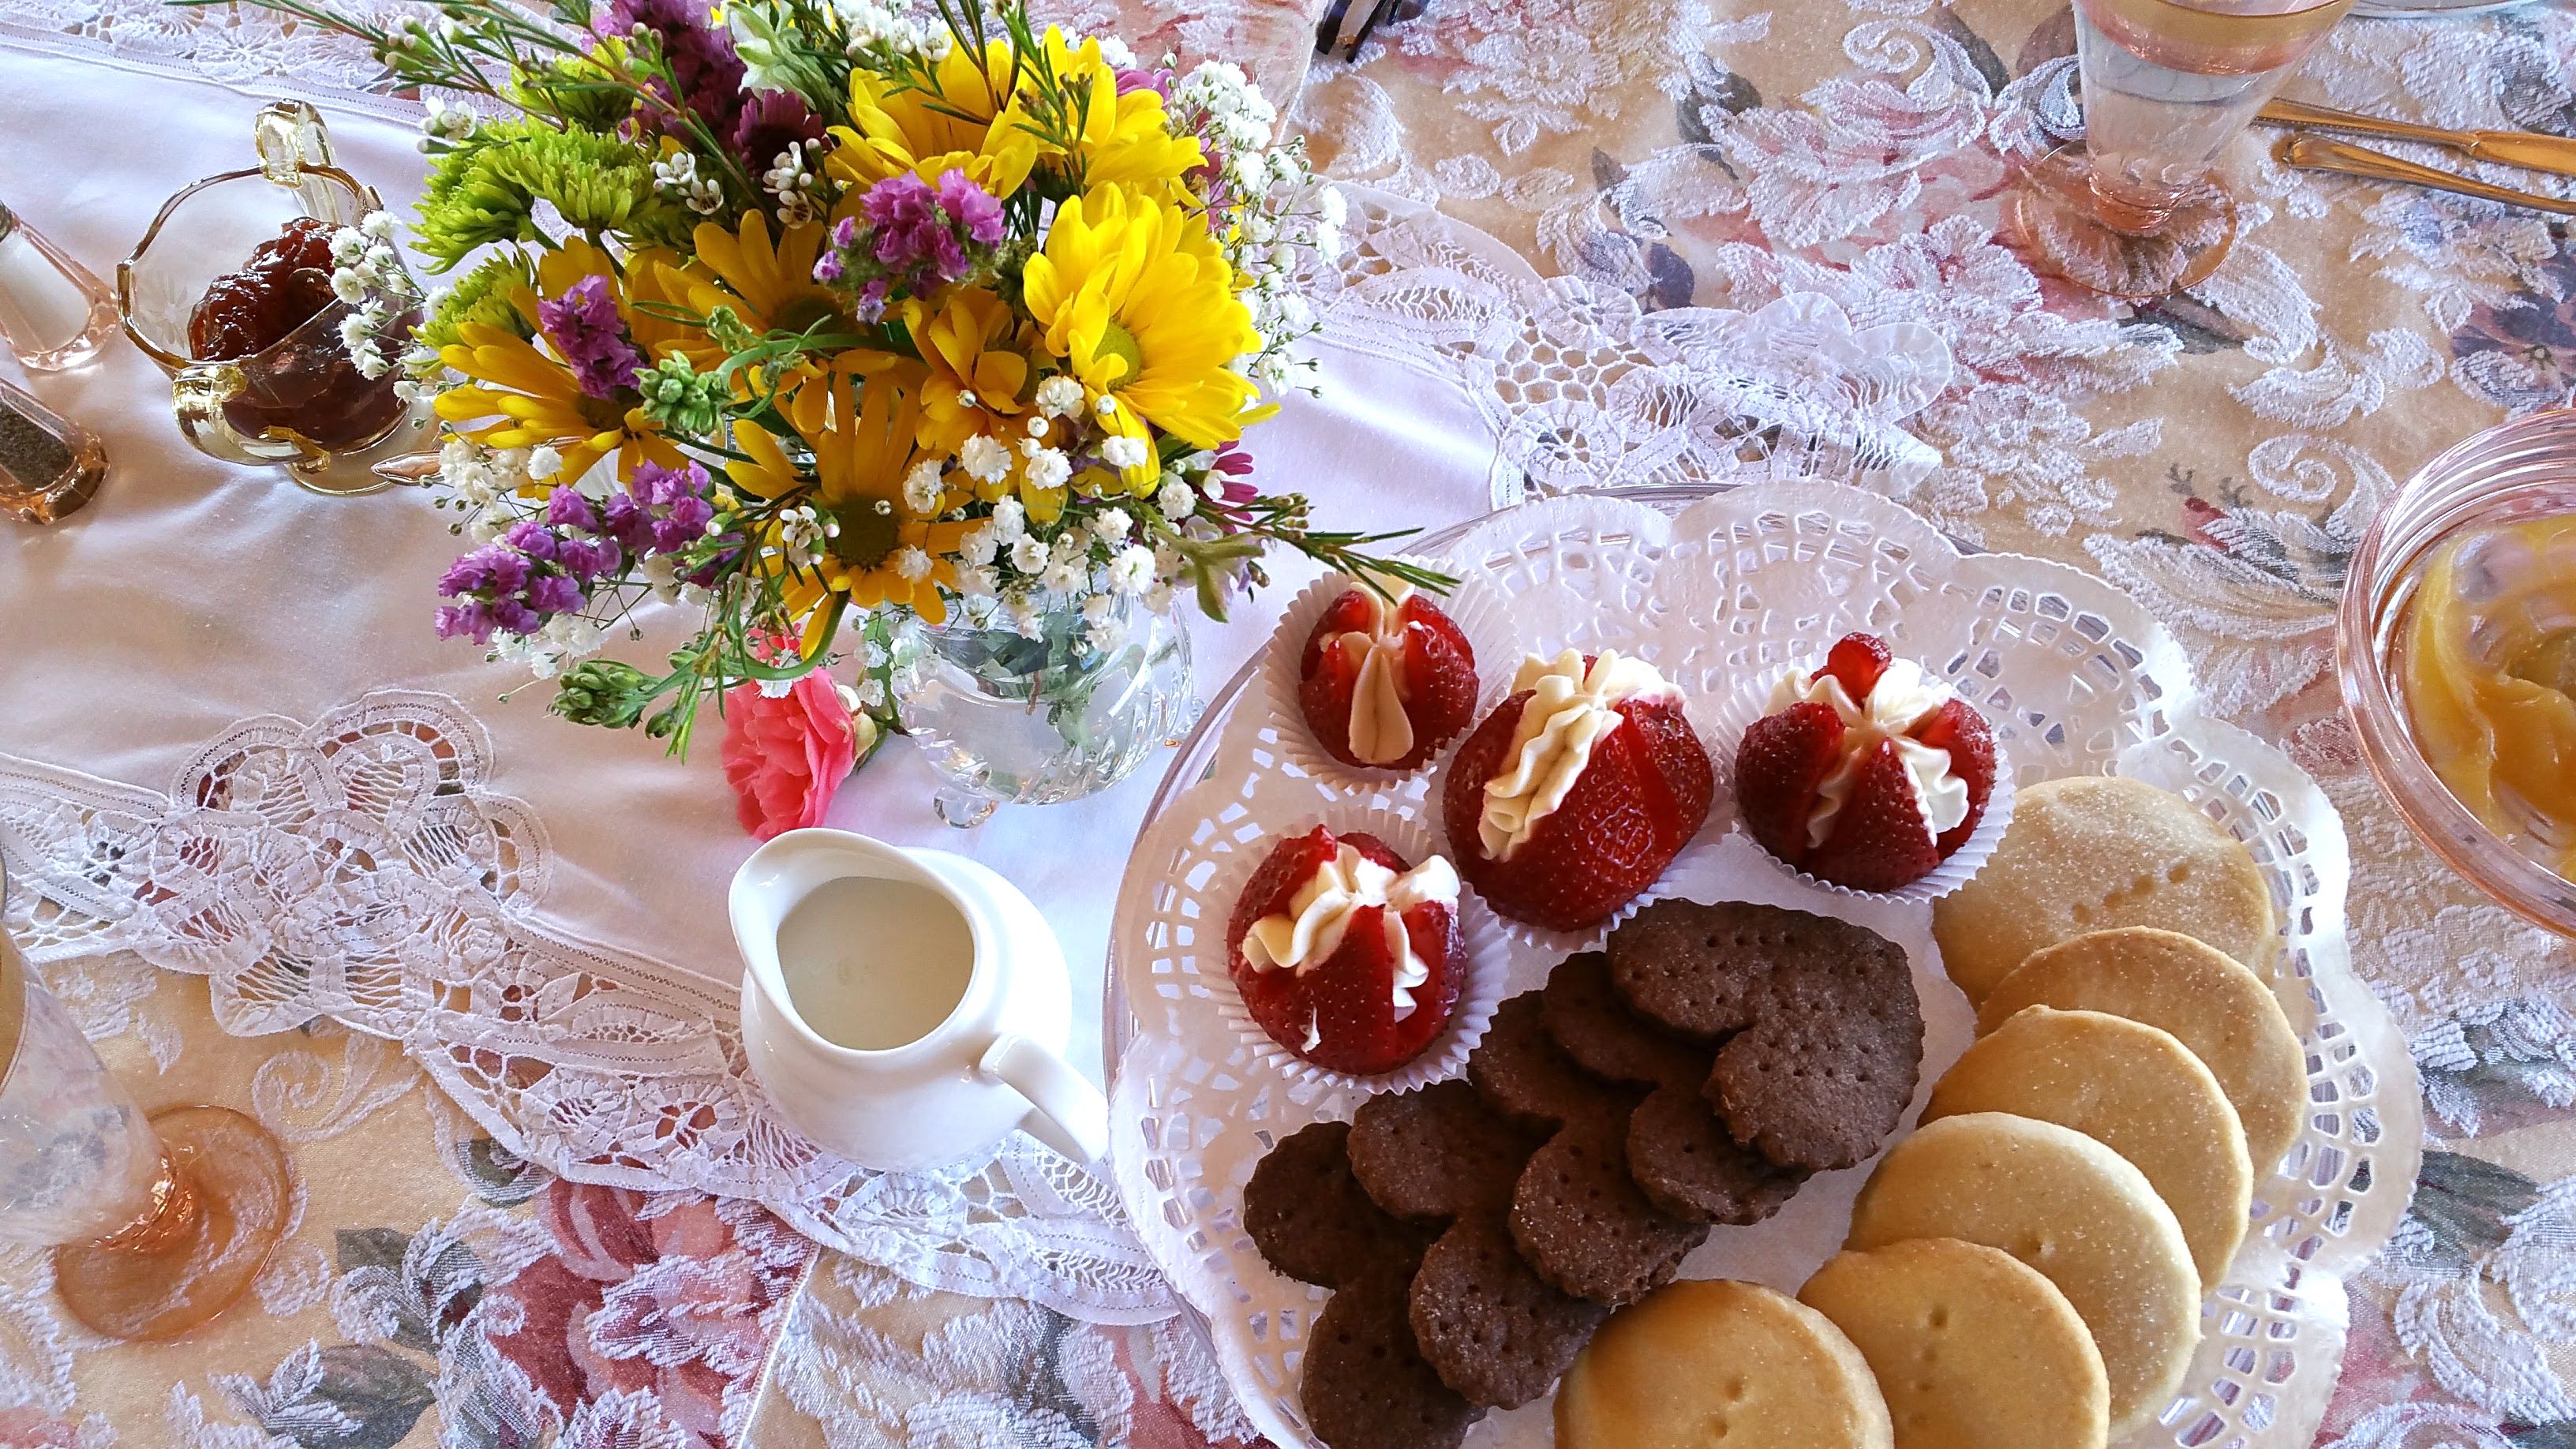
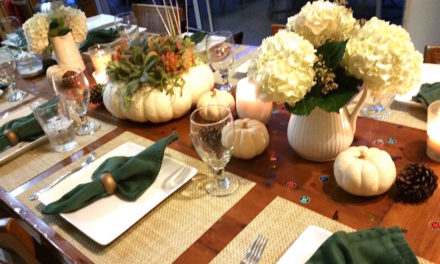
And after all this hard work, we enjoyed the garden and a Tea Luncheon!
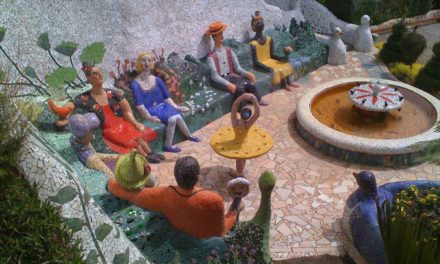
Other Garden Sculptures in LeAnn’s Garden:
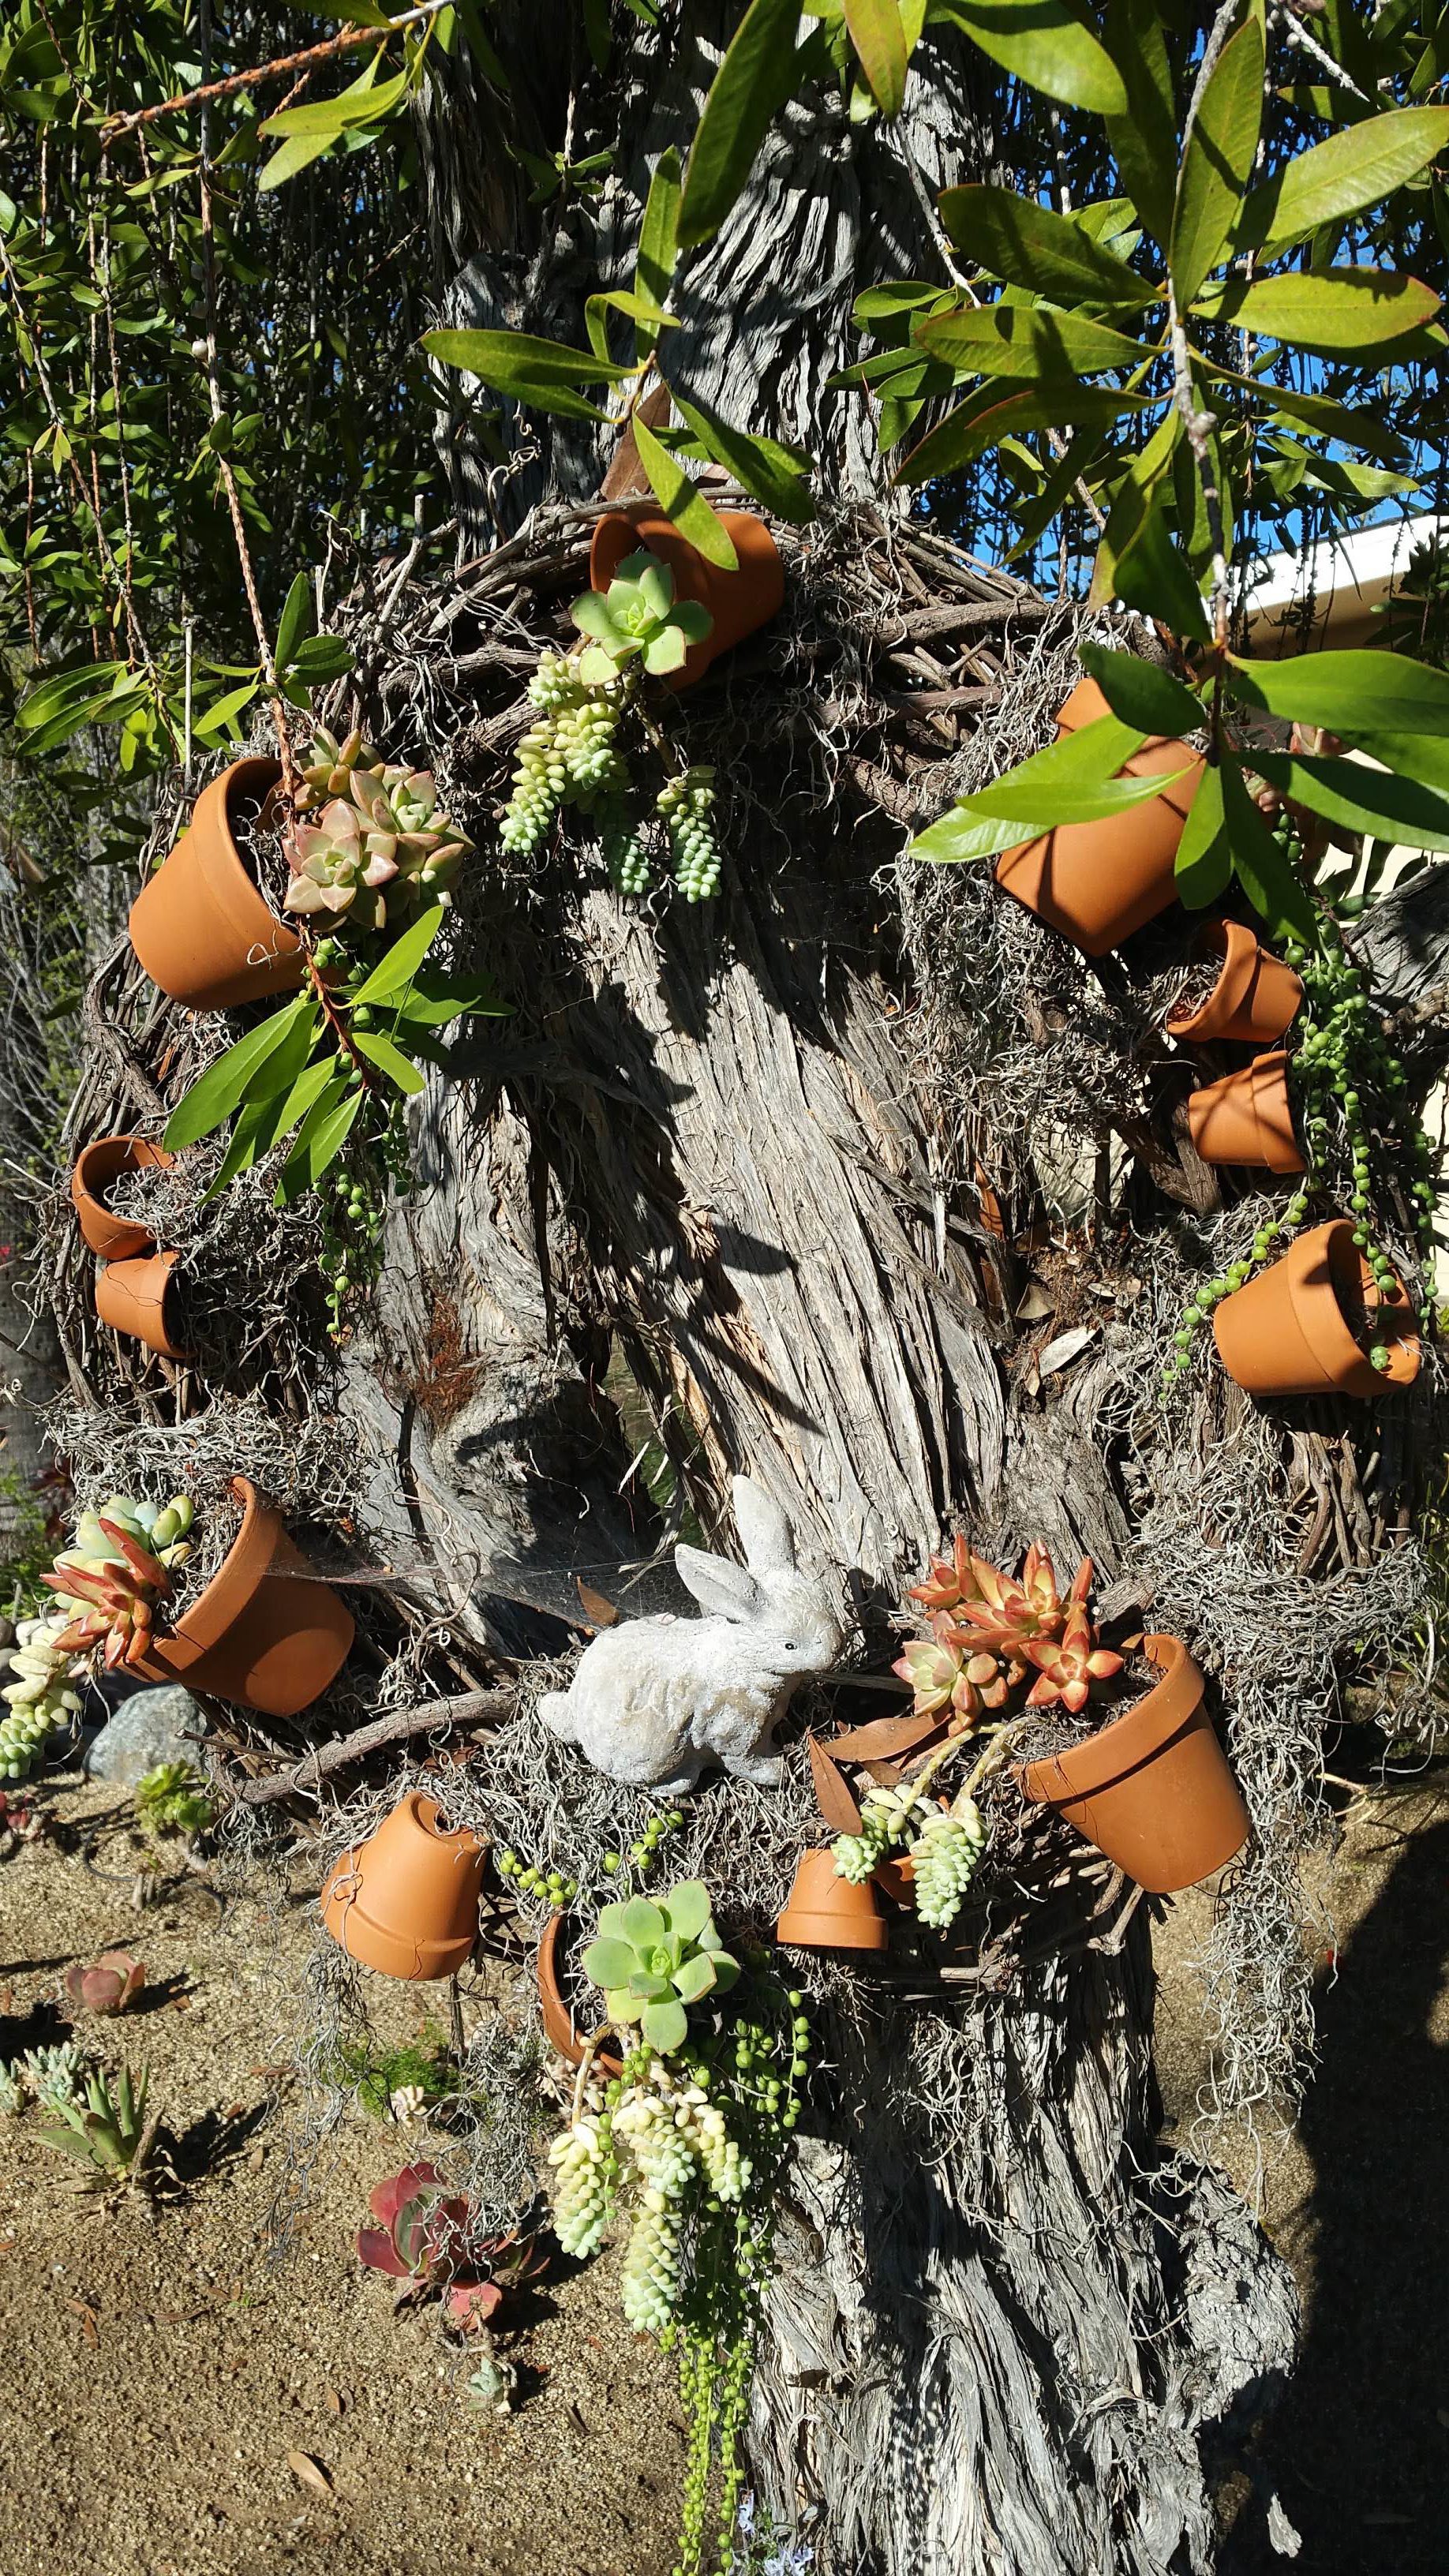
Terra Cotta Pot and Succulent Wreath
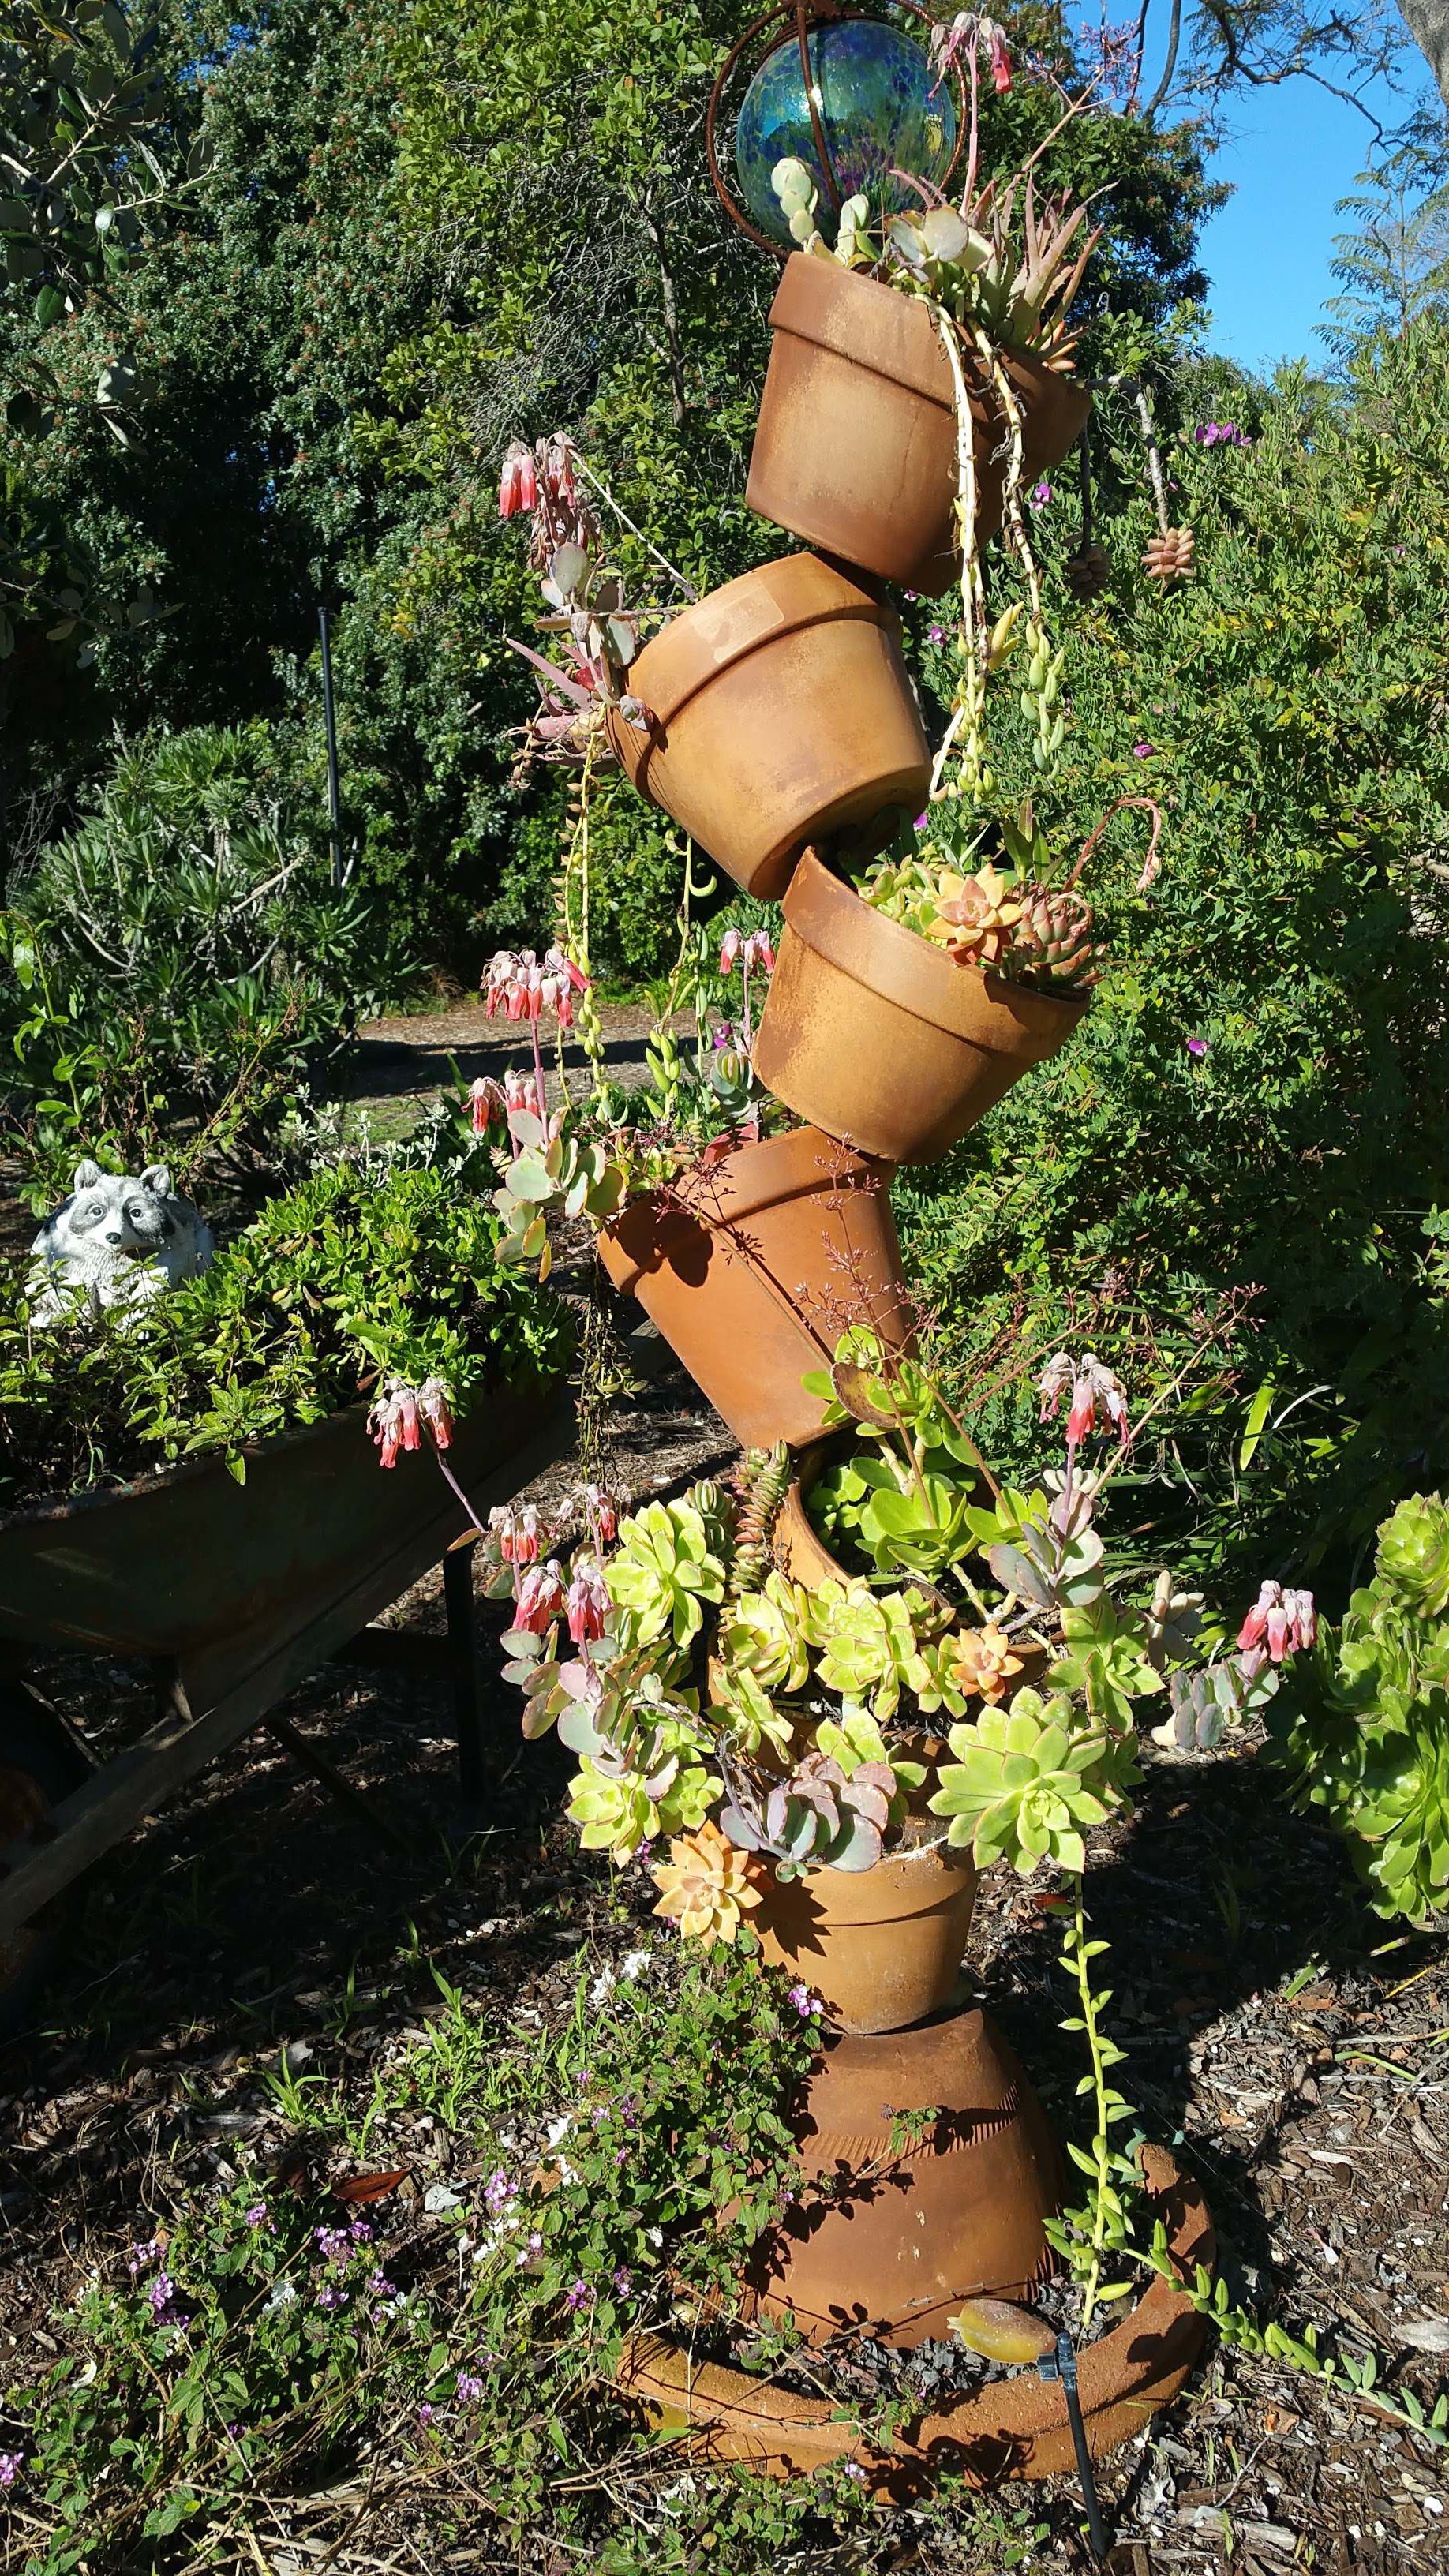
Terra Cotta Pot Garden Sculpture

 I am Diane Uke (pronounced “you-kay”) and would like to welcome you to my new website and blog. This is where I get to share all my many and varied passions with you including my favorite DIY tutorials, recipes and lots of inspirational garden and travel photos! There is also a Shop for my mixed media paintings, prints, jewelry, and anything else I feel you may enjoy. Please stop by often as there will be regular updates.
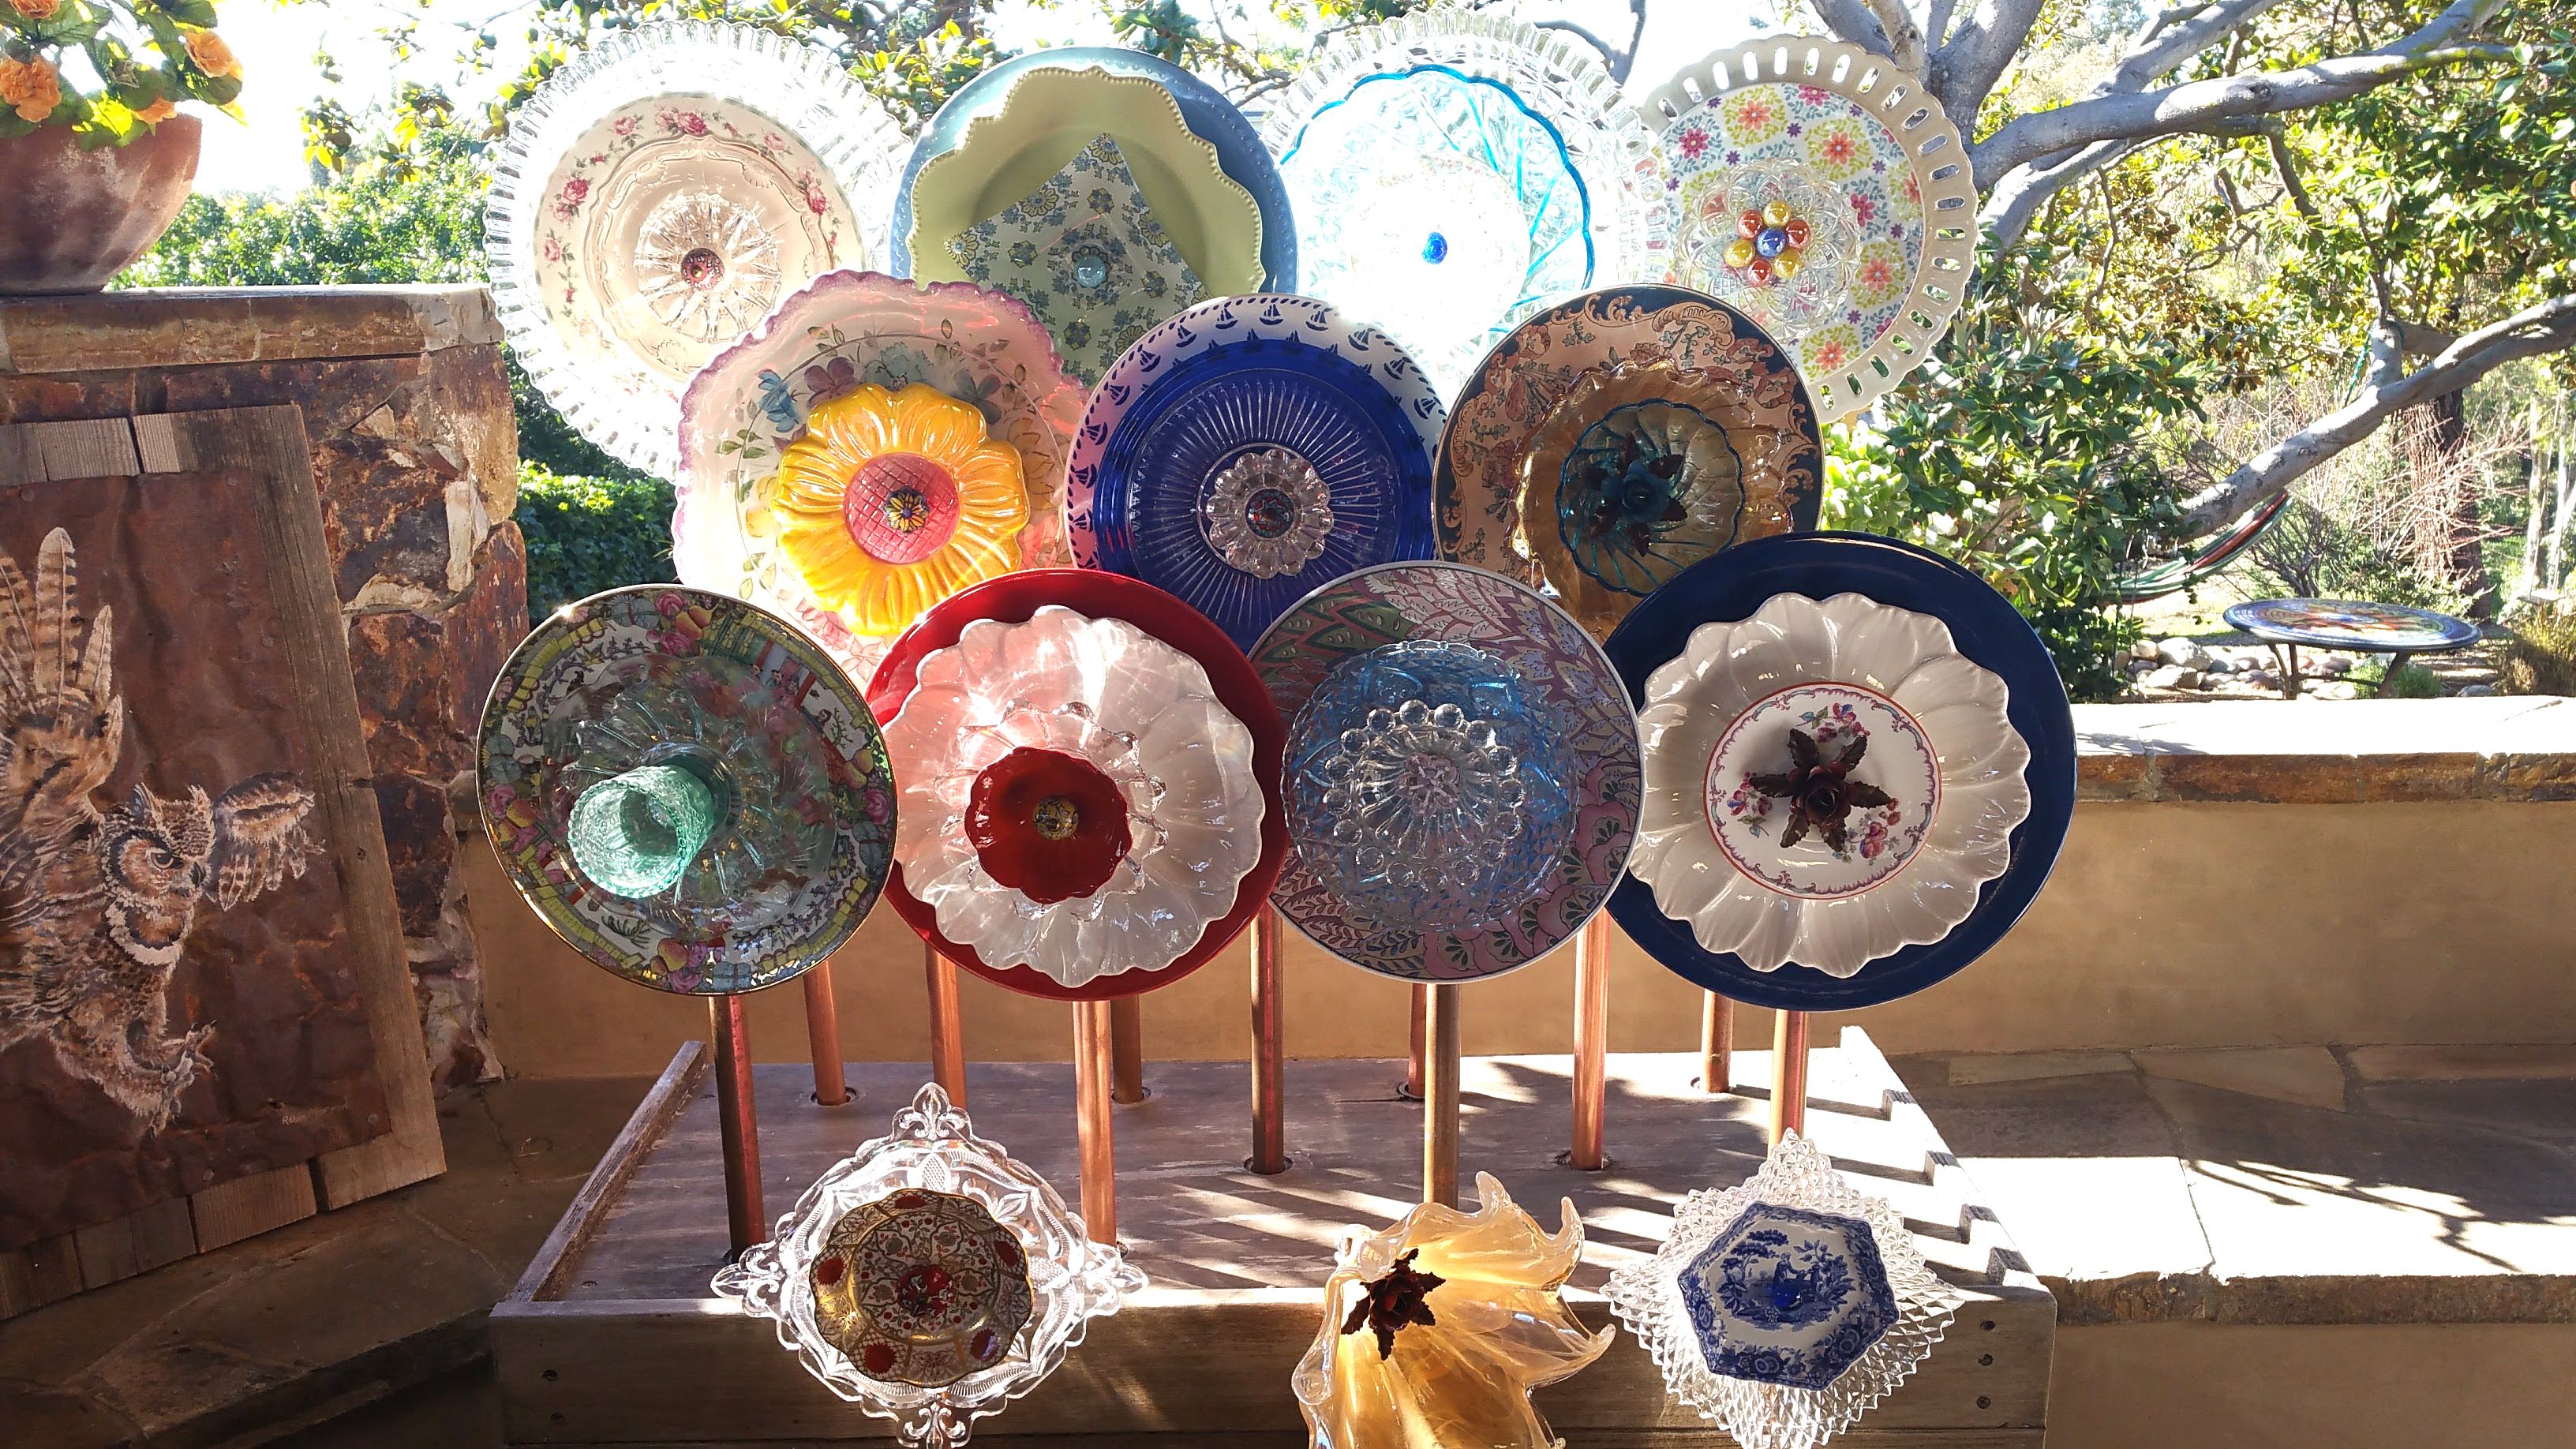