This post contains affiliate links.
Supplies
White opaque melt and pour soap base
Clear melt and pour soap base
(Amount is based on your mold size)
Soap colorant
Fragrance or essential oil (3-4 drop per bar of soap)
Soap mold (silicone preferable)
Double boiler
- Place chunks of melt and pour soap base into the top of a double boiler and melt soap until just completely melted—do not overcook. Use just enough soap chunks to fill your mold. Use opaque or clear soap base, depending on the look you would like to achieve.
- Add desired colorant and fragrance or essential oils to melted soap mixture and stir well. Start with a small amount of colorant—keep adding until you have the desired color.
- Pour the melted mixture into the soap mold and let harden. Once soap has started to set, you may place in the refrigerator for a few minutes to speed the process.
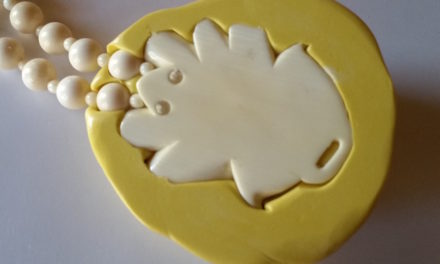
- Turn mold over and release the soap from the mold.
Notes
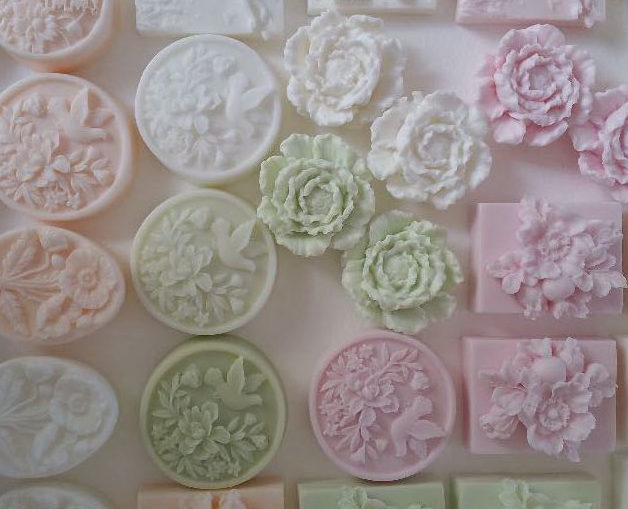
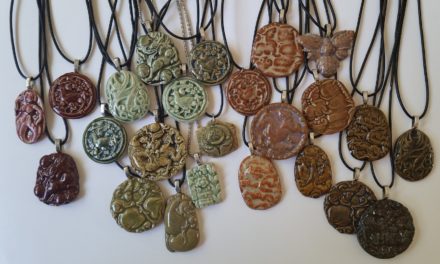
Your melt and pour soap is only limited by the imagination! I made these soaps for the elementary school’s “Teacher and Staff Appreciation Week” that had a garden theme. There are a plethora of mold shapes, colors and fragrances and these may be selected based on the soap you would like to make.
Make sure you melt enough soap base to completely fill your mold. You may use any leftover melted soap to make another soap bar or it may be hardened and melted again in the future to make additional soap.
Any type of soap mold may be used as long as it is flexible. Silicone molds are my favorite as the soap is much easier to release and you don’t have to worry about melting or warping the mold if the melted soap base gets too hot. They are more expensive but worth it if you plan to make several bars of soap.
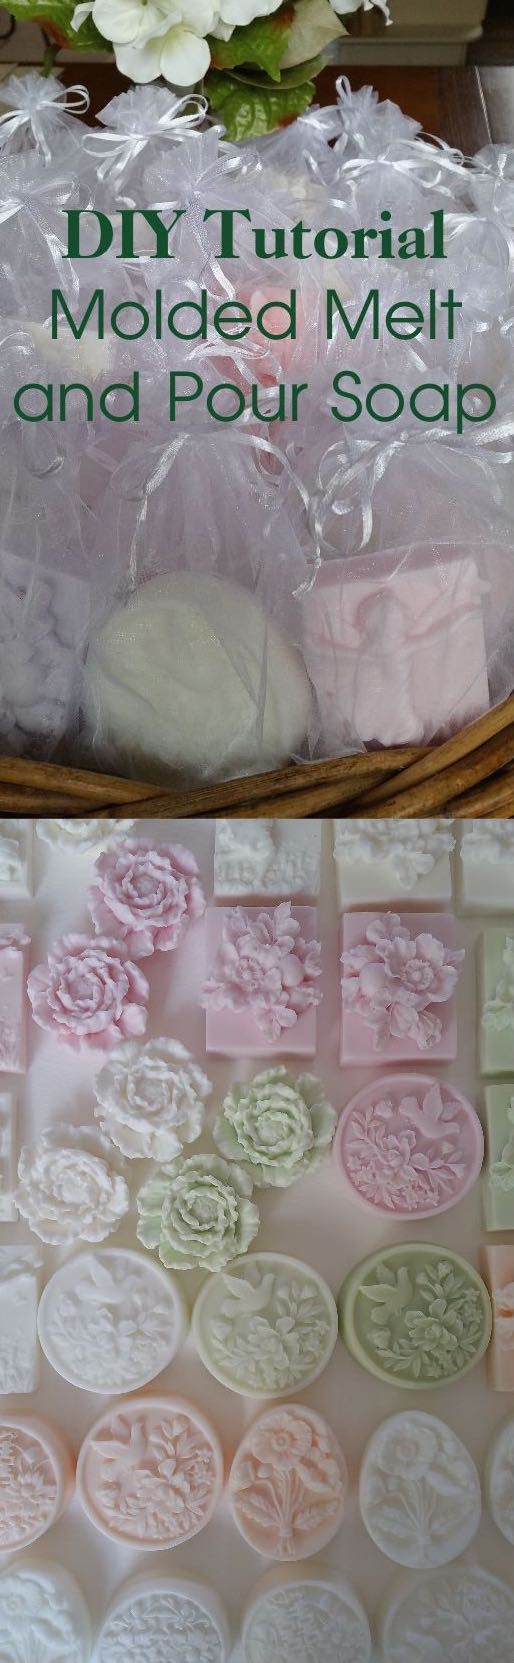
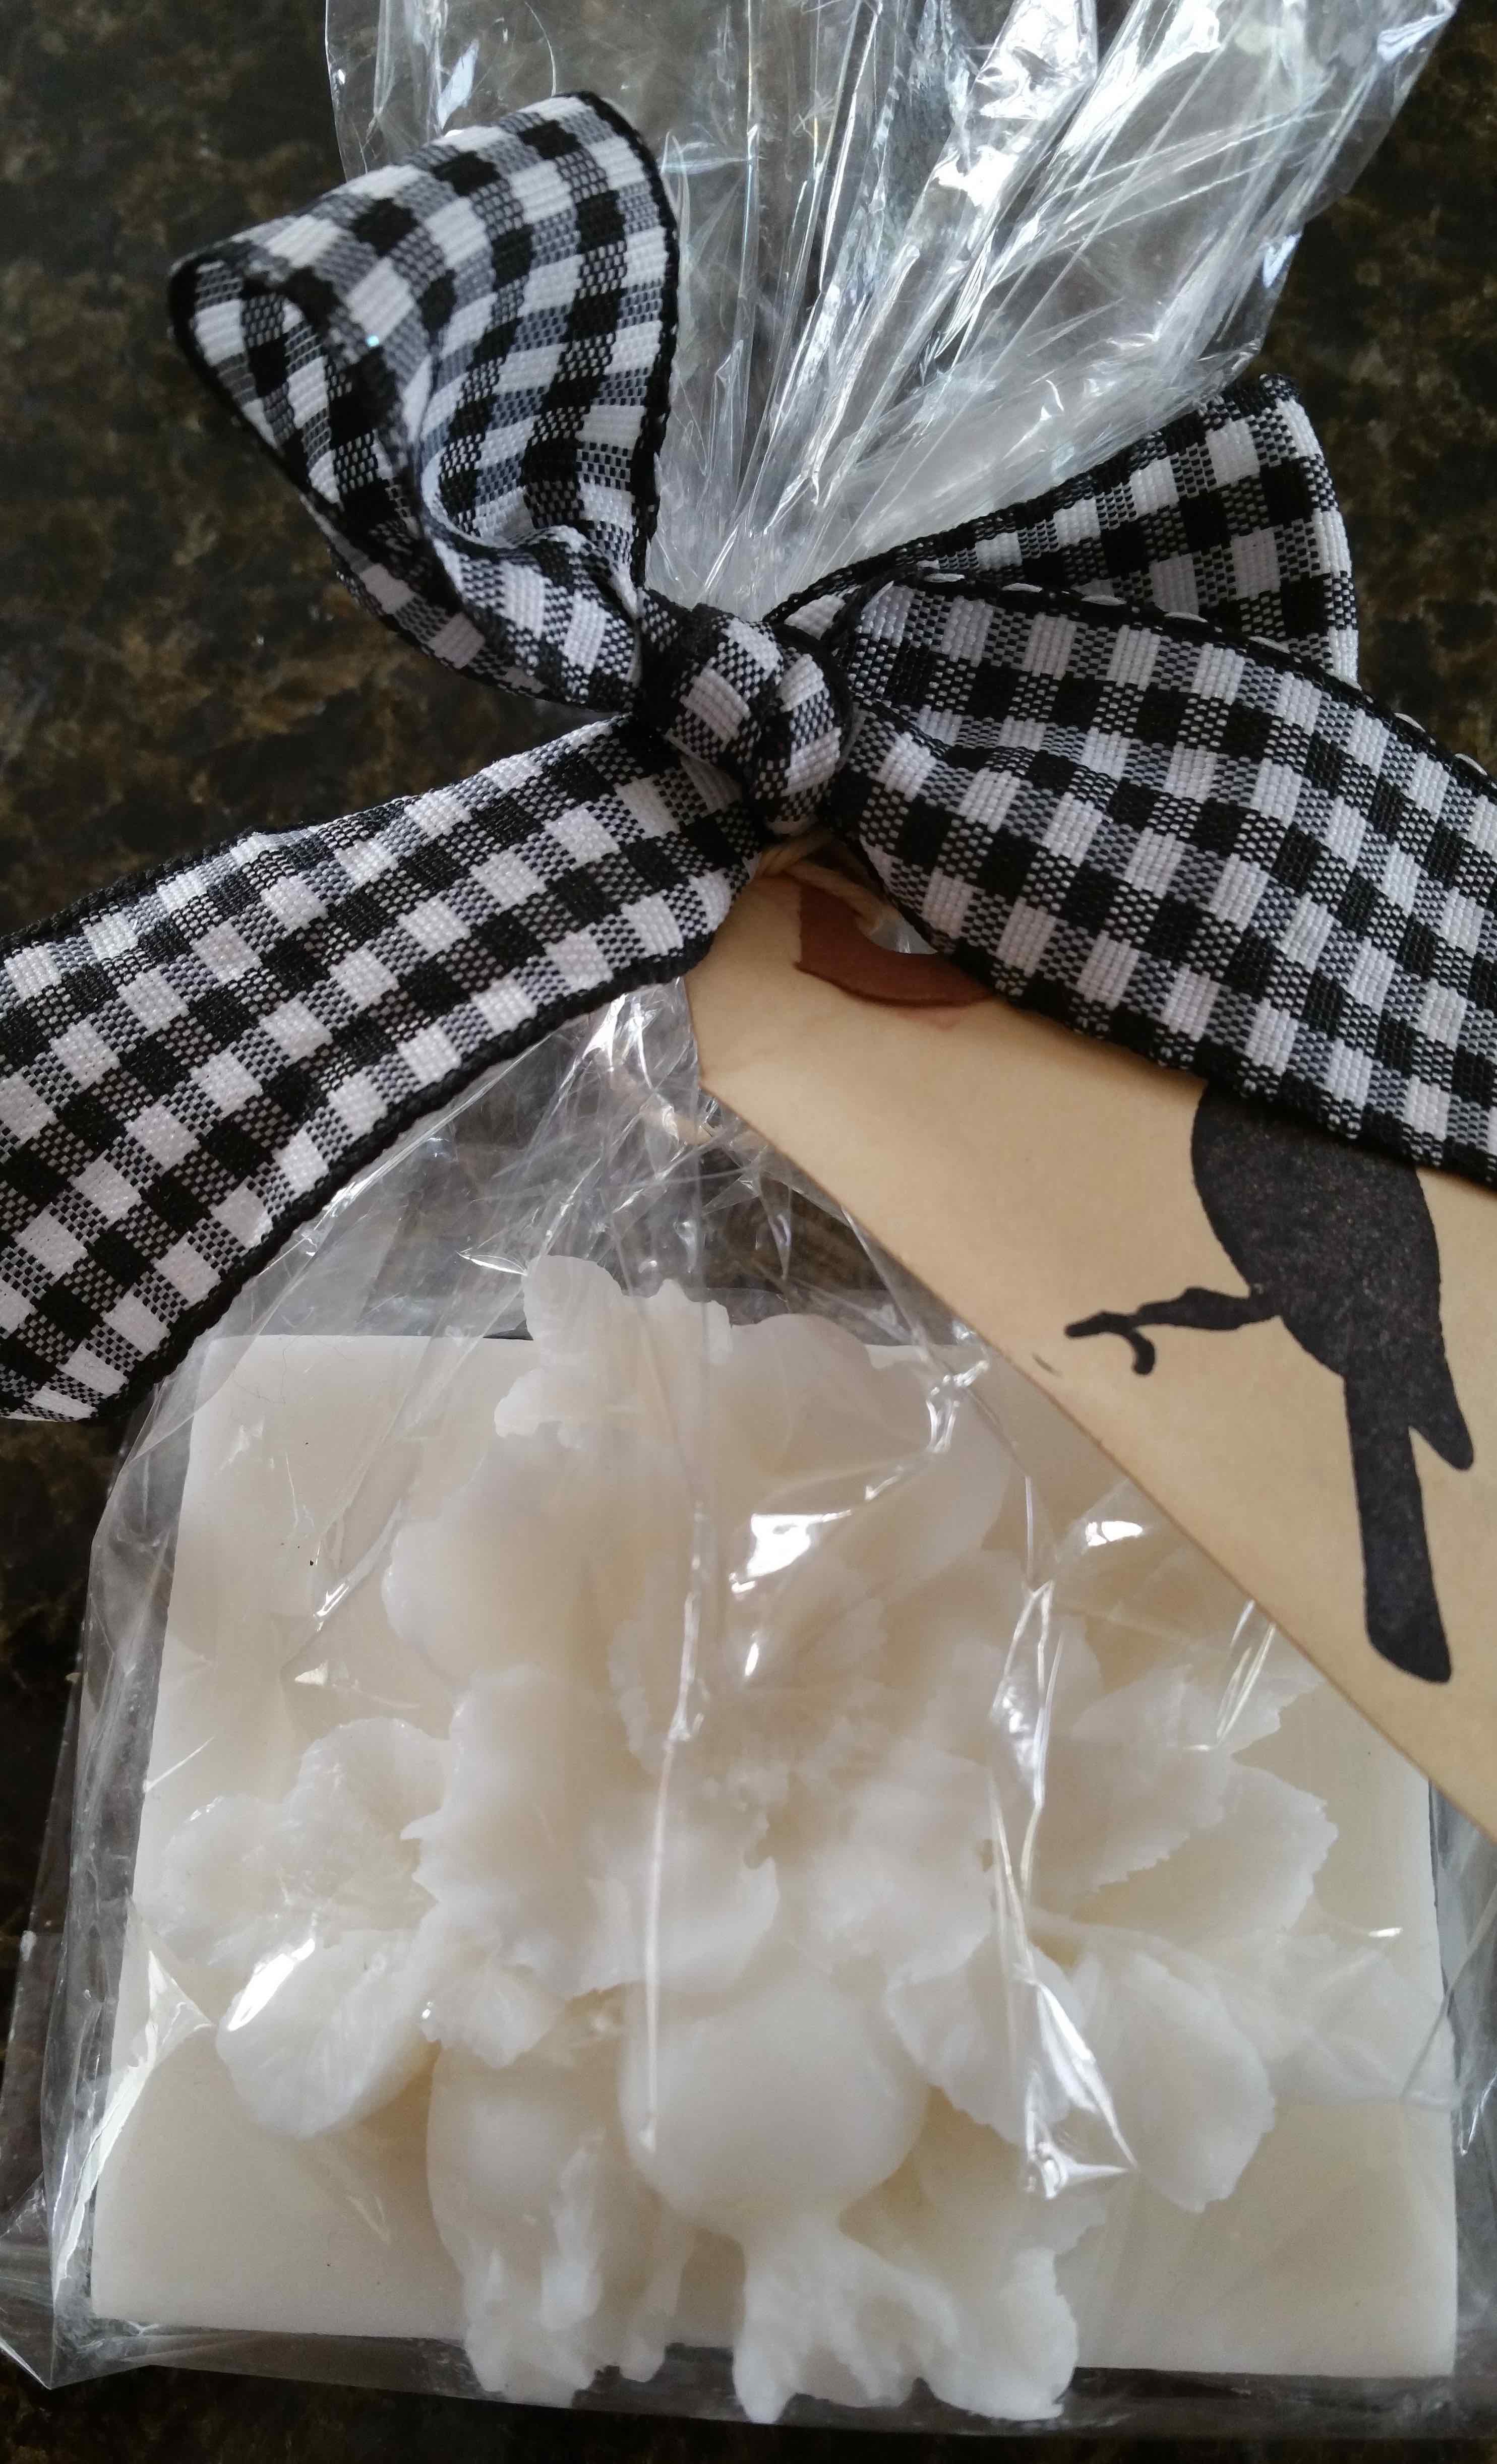
These soaps were made for Teacher & Staff Appreciation gifts, but they also make wonderful hostess gifts, party favors, stocking stuffers, etc., and are very quick and easy to make!
 I am Diane Uke (pronounced “you-kay”) and would like to welcome you to my new website and blog. This is where I get to share all my many and varied passions with you including my favorite DIY tutorials, recipes and lots of inspirational garden and travel photos! There is also a Shop for my mixed media paintings, prints, jewelry, and anything else I feel you may enjoy. Please stop by often as there will be regular updates.